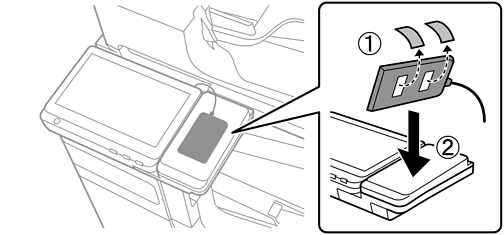
Connect your authentication device to the printer’s dedicated service port. It will not operate if connected to a different USB port.
Connect an authentication device with the same model number as the authentication device that was used to confirm the authentication card.
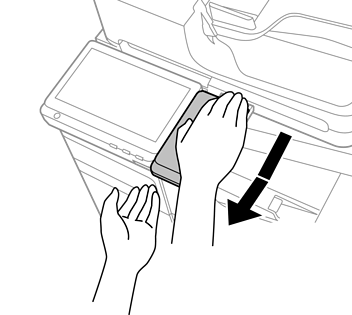
Place your hand on the back side of the authentication device table, and pull it upward and toward you to remove it.
While removing the authentication device table, support it with one hand while so that it does not fall.
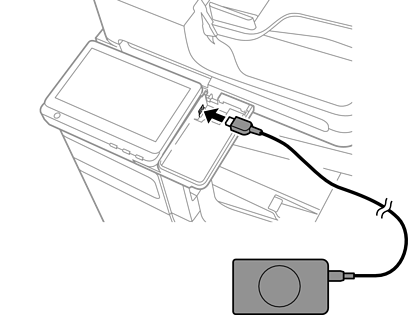
Connect the authentication device cable to the service port.
Raise the control panel, grasp the tab and the protrusion on the side of the cable storage cover, and pull the cover towards you to remove it.
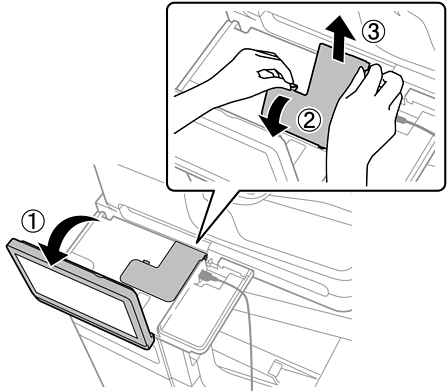
Store the USB cable and adjust the position of the authentication device as needed.
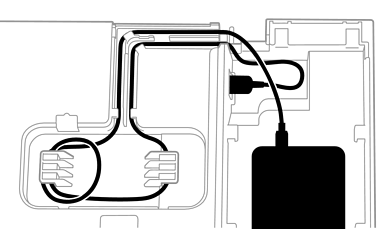
Reattach the cover carefully, making sure the cable is not pinched.
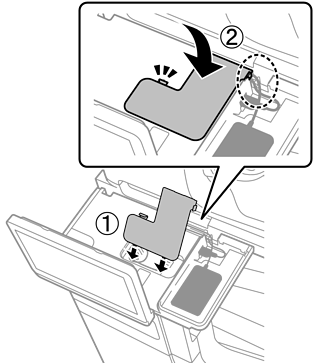
Pass the cable through the opening, and attach the authentication device table while making sure not to pinch the cable.
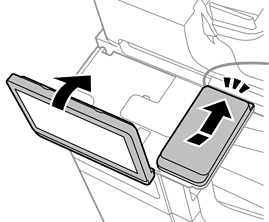
If you want to leave the authentication device under the authentication device table, place something thick (such as folded paper) under the authentication device to raise the device. Do not use a metal object or anything that generates electromagnetic waves.
If the authentication device is not raised, authentication cards may fail to read due to the usage environment or the authentication device's specifications, such as the communication distance requirements.
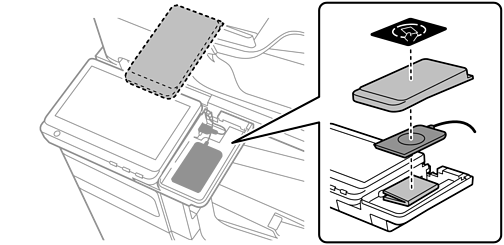
Pass the cable through the opening, and attach the cover of the authentication device table while making sure not to pinch the cable.
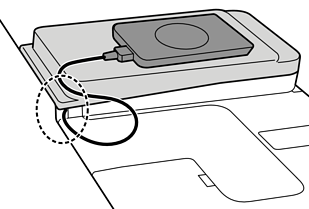
Store any excess cable length in the space between the scanner unit and the control panel. Position the cable to avoid pinching it when adjusting the control panel angle.
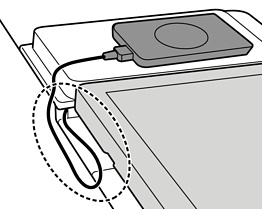
Secure the authentication device to the top of the authentication device table with two pieces of double-sided tape.