
You can save scanned images to a computer connected over a network.
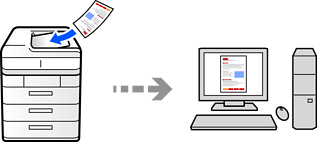
The printer works with Document Capture Pro/Document Capture installed on your computer to perform scanning using scan jobs. Preset jobs are available, and you can also create new jobs.
You need to set up the following before scanning.
Install the following applications on your computer.
|
Operating System |
Checking Essential Software |
Checking for Installed Applications |
|---|---|---|
|
Windows 11 |
|
Click the start button, and then check the All apps > Epson Software folder > Document Capture Pro, and the EPSON folder > Epson Scan 2. |
|
Windows 10 |
|
Click the start button, and then check the Epson Software folder > Document Capture Pro, and the EPSON folder > Epson Scan 2. |
|
Windows 8.1 |
|
Enter the application name in the search charm, and then check the displayed icon. |
|
Windows 7 |
|
Click the start button, and then select All Programs. Next, check the Epson Software folder > Document Capture Pro, and the EPSON folder > Epson Scan 2. |
|
Mac OS |
|
Select Go > Applications > Epson Software. |
If the application is not installed, download and install it from the Epson website.
Connect the printer and the computer over a network.
See the following link for details on the work flow for making settings.
Place the originals.
Select Scan > To Computer on the control panel.
Select Select Computer, and then select the computer on which Document Capture Pro is installed.
The printer's control panel displays up to 110 computers on which Document Capture Pro is installed.
Select the job.
Tap  .
.
Document Capture Pro automatically starts on your computer, and scanning starts.
See the Document Capture Pro help for details on using the features, such as creating and registering new jobs.
You can not only start scanning from the printer but also from your computer by using Document Capture Pro. See the Document Capture Pro help for details.