 /
Scanning (Customized) /
Editing Created Jobs
/
Scanning (Customized) /
Editing Created Jobs
Editing Created Jobs
This section explains how to edit a job that has already been created.
-
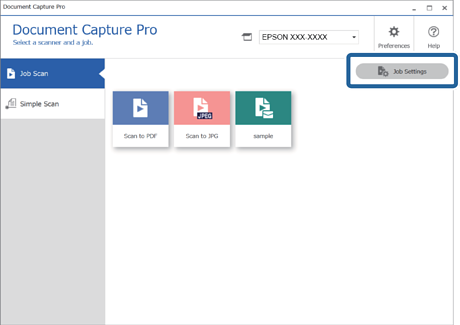
1Click Job Settings on the Job Scan screen.
-
2Click the icon of the job you want to edit, and then click Edit.
You can also double-click to edit the job.
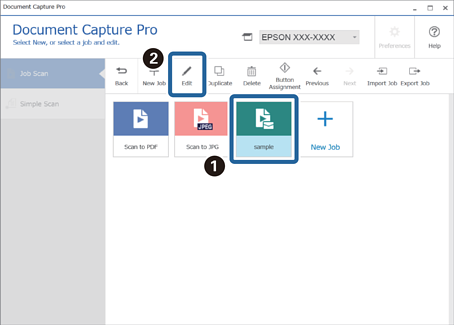 Note:
Note:To delete a job, click the icon of the job, and then click Delete.
The Job Settings window is displayed.
-
3In the same way as when creating a new job, click the 1. Scan to 5. Confirm/Test tabs and set the items you want to edit.
-
4When you have finished editing, click Save to update the edited job.
If you go on to create a new job, make edits, duplicate, delete, and so on, continue to make settings.
To finish making job settings, click the Back button on the left of the toolbar to return the job screen.
