
Creating and saving folders for each form
By using registered form information, you can separate scanned data by form type, and create and save folders.
This section explains the job settings for “Separating by form and saving using the form type as the folder name”.

-
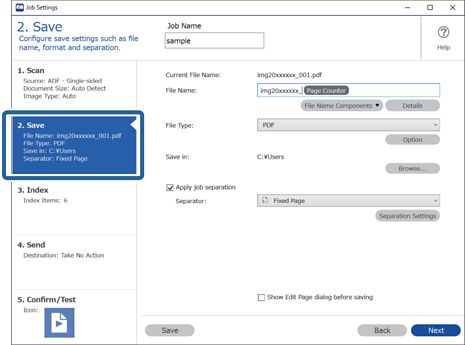
1Display the Job Settings screen, and then click the 2. Save tab.
-
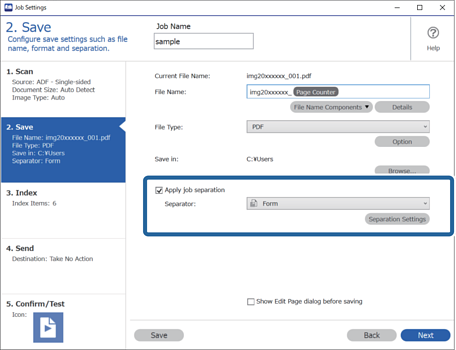
2Select Apply job separation, select Form in Separator, and then click Separation Settings.
-
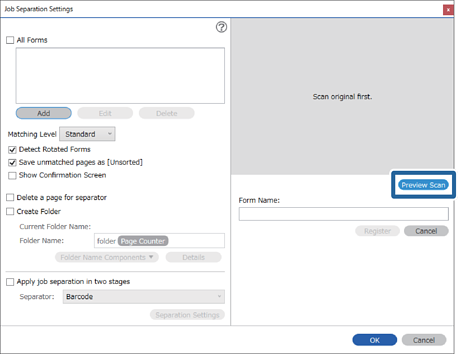
3Click Add on the Job Separation Settings screen.
 Note:
Note:If you want to use a form for separation that has already been registered, select the form name.
To edit form information that has already been registered, select the form, and then click Edit.
-
4Place the original of the form you want to register on the scanner, and then click Preview Scan.
 Note:
Note:Only one page of form information is saved even if there are multiple originals.
-
5Make scan settings on the Scan Settings screen, and then click OK.

-
6Enter a name for the form, and then click Register.

-
7Repeat steps 3 to 6 to register all of the form information you want to use for separating.
-
8Select Create Folder, and then select Form from Folder Name Components.
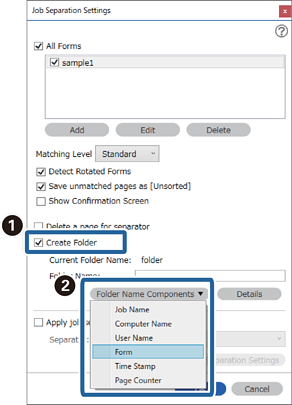
Form is added to the Folder Name.
