 /
Advanced Software Management /
Enabling Useful Software Functions /
Displaying the Barcode/OCR Results Screen
/
Advanced Software Management /
Enabling Useful Software Functions /
Displaying the Barcode/OCR Results Screen
Displaying the Barcode/OCR Results Screen
Follow the steps below for Job Scan.
-
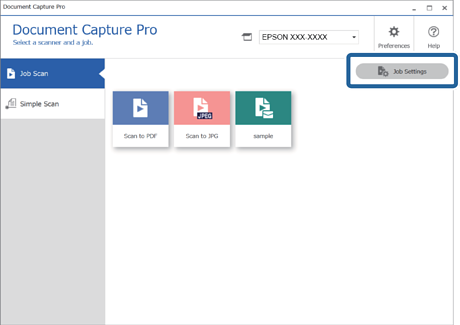
1Click Job Settings on the Document Capture Pro top screen.
-
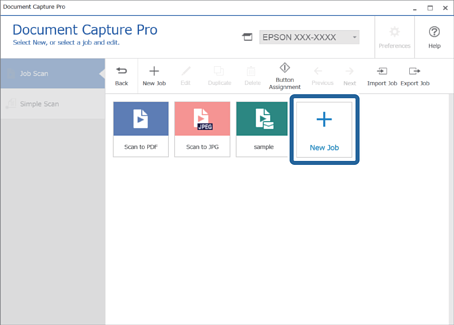
2Click New Job to create a new job. To edit an existing job, select the target job and then click Edit.
-
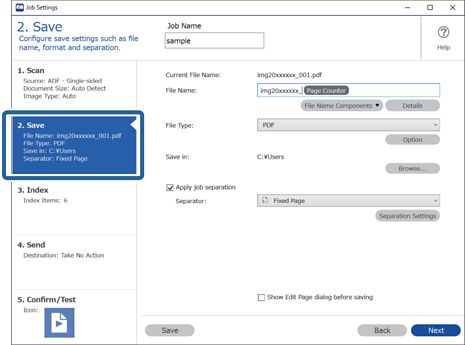
3Click the 2. Save tab.
-
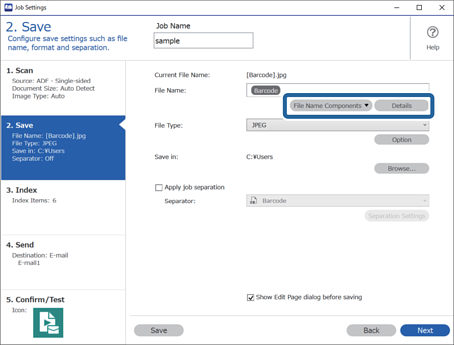
4To add a barcode or OCR to the file name, select Barcode or OCR in File Name Components, and then click Details.
If you want to separate by barcode or OCR, go to step 6.
-
5On the Name Component Settings screen, select Show the detection result to recognize barcodes or OCR, and then click OK.

If you do not want to use barcodes or OCR to separate jobs, the procedure is complete.
If you do want to use barcodes or OCR to separate jobs, click the 2. Save tab.
-
6Select Apply job separation, select Barcode or OCR in Separator, and then click Separation Settings.
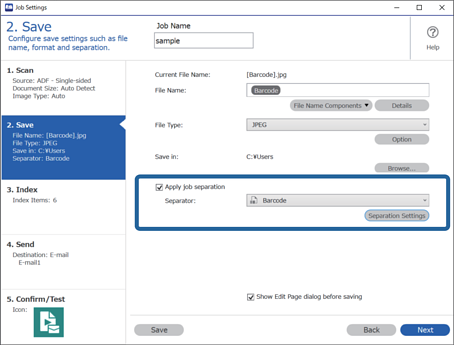
-
7Select Show the detection result on the Separation Settings screen, and then click OK.

-
8Save the job to complete the procedure.
