 /
Scanning (Customized) /
Advanced Scanning /
Creating a User-defined Index (Only Available for Specific Models)
Creating a User-defined Index (Only Available for Specific Models)
You can set a user-defined index based on barcodes or OCR, and output it as index data.
This section explains the job settings for "Creating a new user-defined index and outputting it as an index file".
-
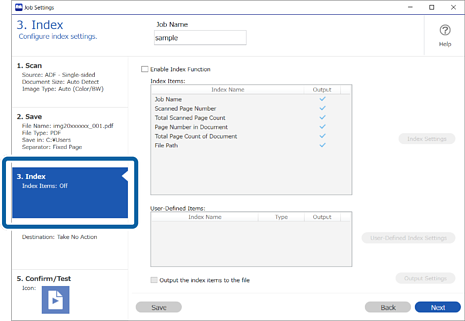
1Display the Job Settings screen, and then click the 3. Index tab.
-
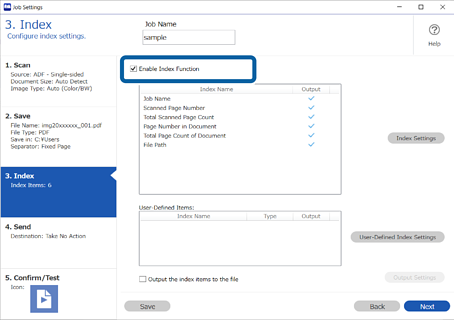
2Select Enable Index Function.
-
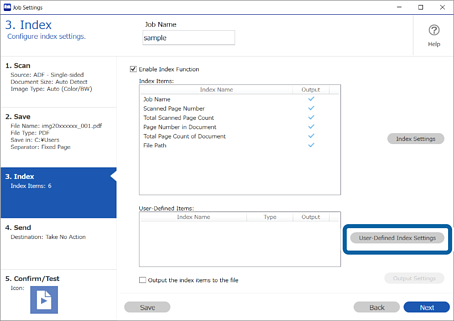
3Click User-Defined Index Settings.
-
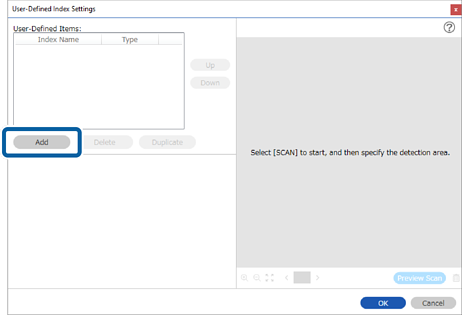
4Click Add on the User-Defined Index Settings screen.
-
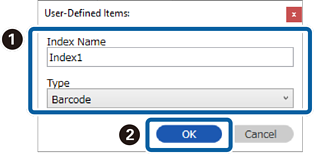
5On the screen displayed, set the name and the format type for the user-defined index, and then click OK.
The example on the screen shows how to set a user-defined index using barcodes.
-
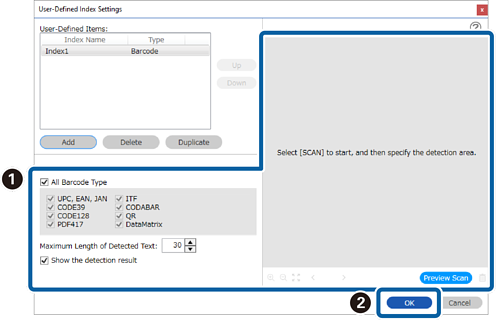
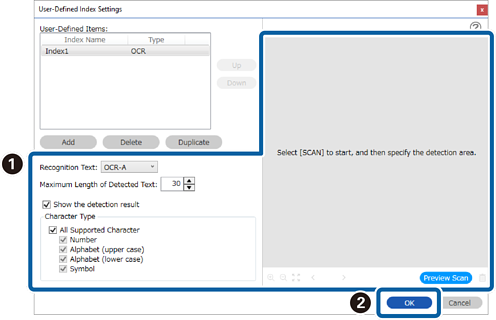
6Set the index information details, and then click OK.
<When creating a user-defined index using a barcode>
<When creating a user-defined index using OCR>
-
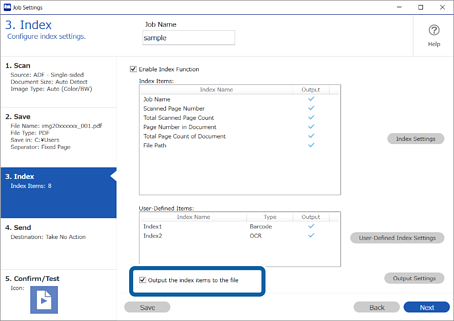
7Select Output the index items to the file.
-
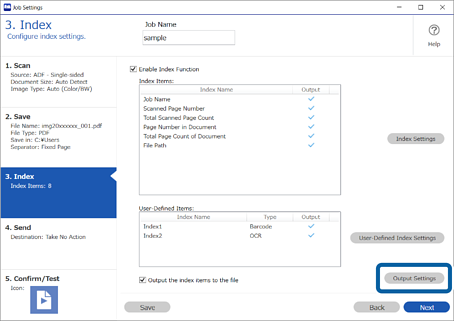
8Click Output Settings.
-
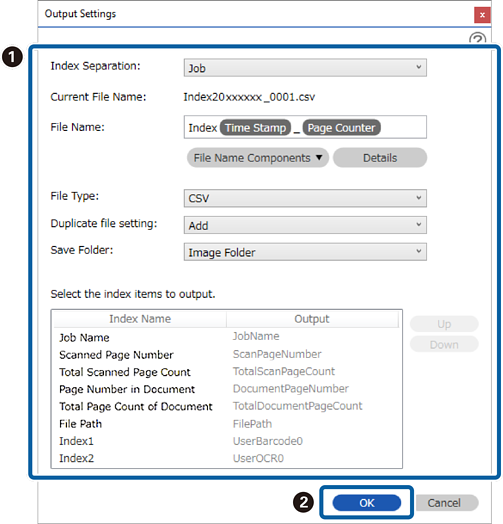
9Set the output items and file name you want to use when outputting the index items to a file, and then click OK.
