
This section explains the workflow of scanning without using a job.
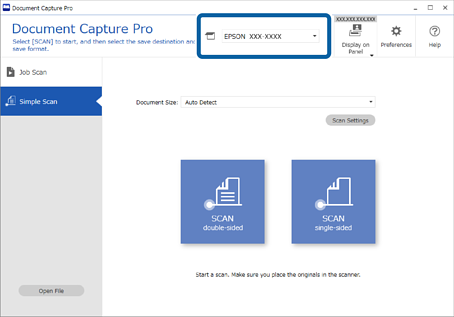
Select the scanner you want to use from the Document Capture Pro top screen. When you start the software it automatically connects to the last scanner you used.
Click the Simple Scan tab, select Document Size, and then click the SCAN double-sided or SCAN single-sided icon.
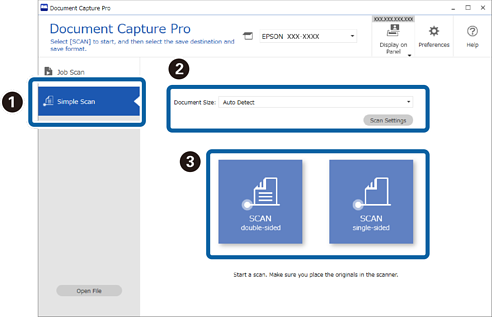
Click Scan Settings to set the resolution. You can select more detailed settings from Epson Scan 2.
The image being scanned is displayed.
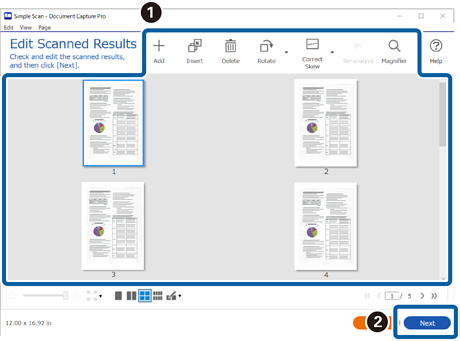
Check the scan results on the Edit Scanned Results screen, edit as necessary, and then click Next.
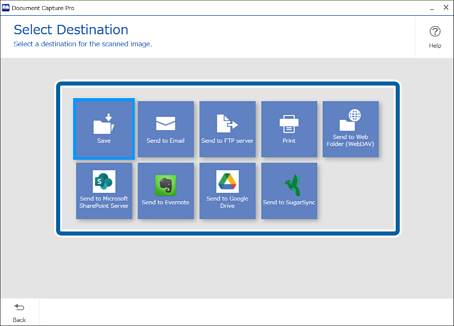
Select the destination for the scanned data on the Select Destination screen.
Set the file you want to save and the save format on the Destination Settings screen. You can also select more detailed settings according to the destination.
Displayed items depend on the destination. The following screen is displayed when Save is selected.
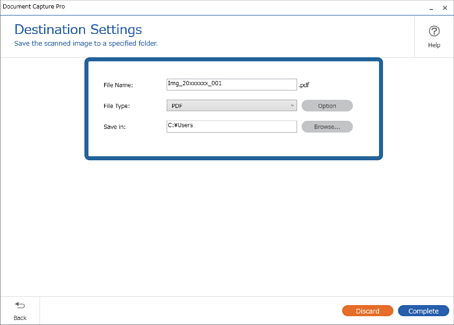
Click Complete to finish performing the Simple Scan.