
You can save the scanned image to a specified folder on a network.
You need to configure settings in advance. See the following link for details on the work flow for configureing settings.
Scan to Network Folder/FTP Feature Work Flow
Before scanning, make sure the scanner’s Date/Time and Time Difference settings are correct. If you need to make changes, select Settings > Basic Settings > Date/Time Settings on the control panel.
Place the original.
Select Network Folder/FTP on the home screen on the scanner's control panel.
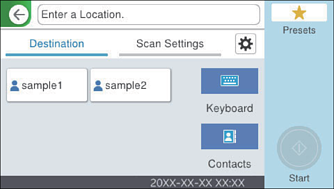
Specify the folder.
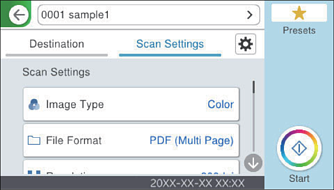
Select Scan Settings, and then review and change any settings, such as the save format, if necessary.
Scan Menu Options for Scanning to a Folder
Select  to save your settings as a preset.
Select  , check the Scanner Settings, and then change them if necessary.
Tap  .
.
Scanned images are saved in the destination network folder.