
When scanning from the scanner glass, you can scan multiple originals at once. They are automatically saved as separate images.
This feature supports not only standard-sized originals but also irregularly shaped items such as receipts, invoices, and photos of various sizes.
This feature is available in the following cases (when scanning while connected to a computer).
When scanning using Document Capture Pro (Windows) / Document Capture (Mac OS X) or Epson Scan 2 on your computer
When scanning by selecting Computer on the scanner's control panel
This feature cannot be used when scanning by selecting Network Folder/FTP, Email, Cloud, or USB Drive on the scanner's control panel.
This feature cannot be used when scanning with Epson Smart Panel.
When scanning thick originals, make sure that exterior light, such as from lamps or other sources, does not shine directly onto the scanner glass. Auto image cropping may fail.
Open the document cover.

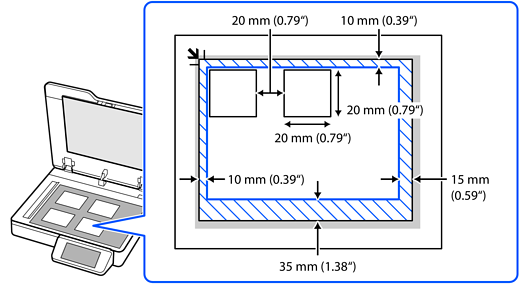
Place the originals face down on the scanner glass and make sure they meet the following requirements.
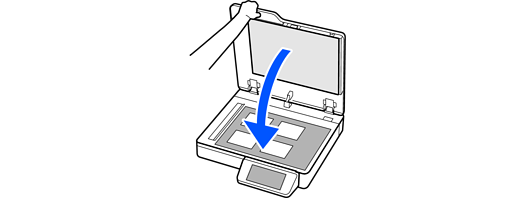
Close the document cover gently so that your originals do not move.
When scanning, set Document Size to Auto Detect in the Scan Settings.
When using Document Capture Pro/Document Capture: Set Document Size to Auto Detect on the setting screen.
When using Epson Scan 2: In Main Settings, set Document Size to Auto Detect. When previewing, the entire scannable area is displayed. We recommend scanning with Add or edit pages after scanning selected and checking the scanned image on the editing screen before saving.
When using Computer on the scanner's control panel: When editing jobs in Document Capture Pro/Document Capture, set Document Size to Auto Detect on the setting screen.