
If an original gets jammed in the ADF, follow the steps below to remove it.
Remove any originals that did not feed.

Open the ADF cover.
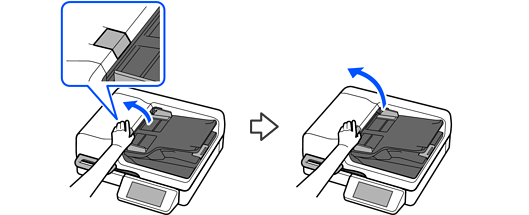
If an original is jammed, slowly pull it out.
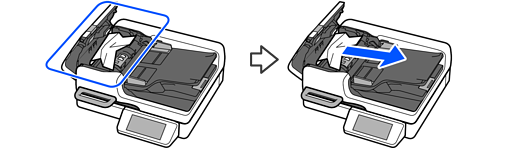
With the ADF cover open, open the document cover.

If an original is jammed, slowly pull it out.
Pull out jammed originals in the direction shown in the illustration. Otherwise, the original or the ADF may be damaged.
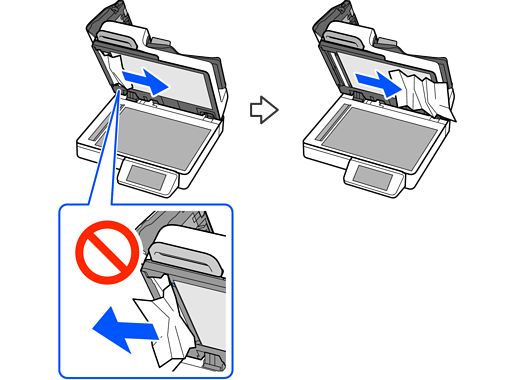
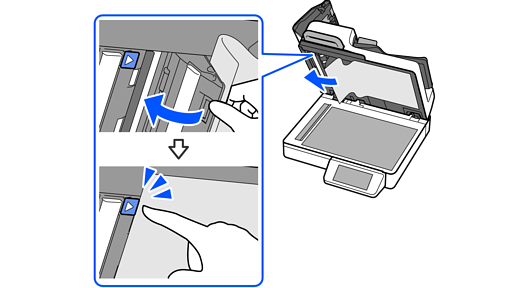
Open the cover under the document mat.
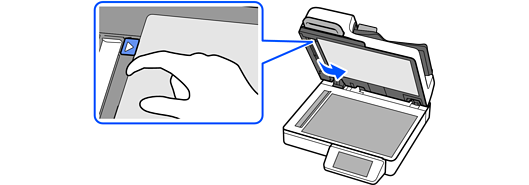
Be careful not to fold or damage the document mat.
If an original is jammed, slowly pull it out.

Close the cover under the document mat.
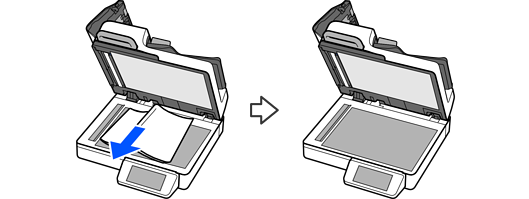
Make sure there is nothing on the scanner glass.
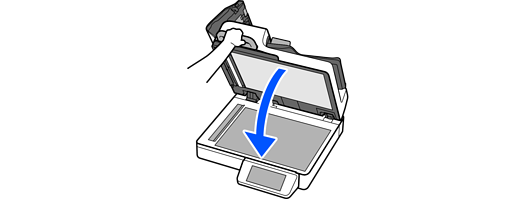
Close the cover gently.
Close the ADF cover.

Lift the input tray and slowly pull out any jammed original.
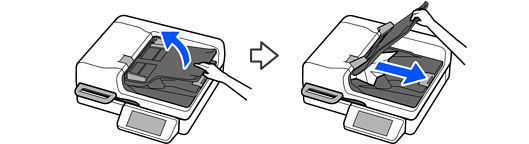
Lower the input tray.

Open the ADF cover.
Make sure that no paper (or pieces of paper) remain in the areas shown in the illustration.

Close the ADF cover.
If the error continues to occur, open the ADF cover and check again to make sure no pieces of paper remain.
When scanning using the ADF, make sure that the originals are placed correctly. Also, make sure that the originals meet the specifications for the ADF.