
You can install up to 3 paper cassette units.
Make sure you turn off the printer, unplug the power cord from the printer, and disconnect any cables before starting installation. Otherwise, the power cord may be damaged resulting in fire or electric shock.
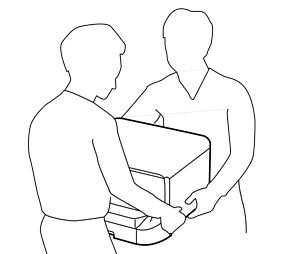
When lifting the printer, place your hands in the positions shown below. If you lift the printer holding other positions, the printer may fall or you may trap your fingers when placing the printer.
If you are using the optional cabinet, install it under the bottom of the paper cassette unit in advance.
Turn off the printer by pressing the  button, and then unplug the power cord.
Disconnect any connected cables.
If other optional paper cassette units have been installed, uninstall them as well.
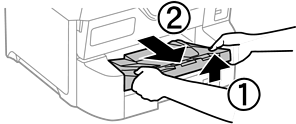
Remove the output tray.
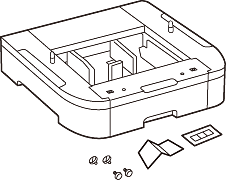
Remove the optional paper cassette unit from its box, and then remove any protective materials.
Check the items supplied.
Place the optional paper cassette unit where you want to set up the printer.
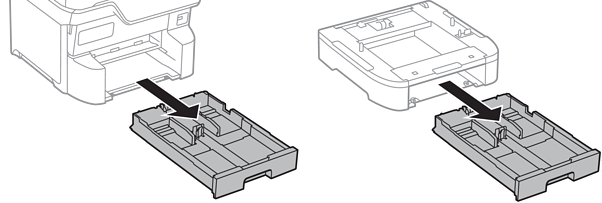
Pull out the paper cassette.
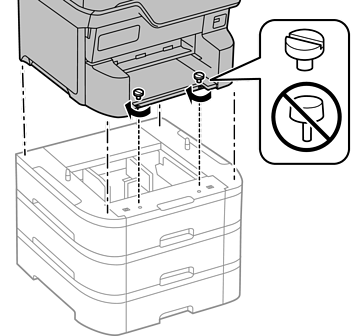
If you use multiple optional cassette units, stack all optional paper cassette units on top of each other, and then secure them with the screws.

Lower the printer gently onto the optional paper cassette aligning the corners, and then secure them with the screws.
Some screws will be left over after assembly.
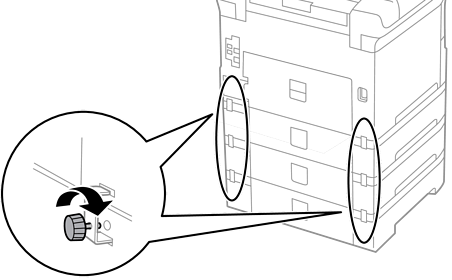
Secure the optional paper cassette unit and the printer at the back with the attachments and screws.
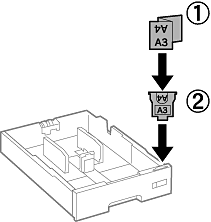
Insert a label showing the size of the paper to be loaded in the cassette into the holder.
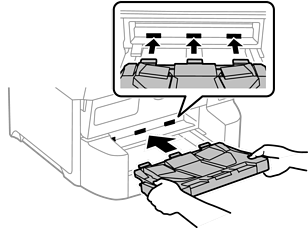
Insert the paper cassette.
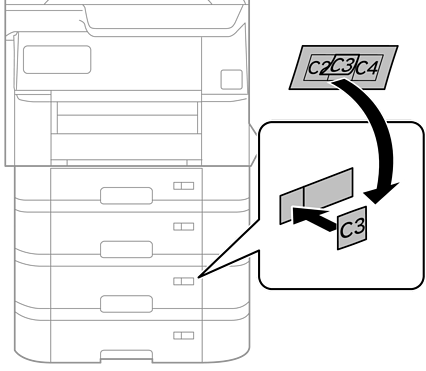
Place the sticker indicating the cassette number.
Insert the output tray.
Reconnect the power cord and any other cables, and then plug in the printer.
Turn on the printer by pressing the button.
Press the  button, and check that the optional cassette unit that you installed is displayed on the Paper Setting screen.
When uninstalling the optional paper cassette unit, turn off the printer, unplug the power cord, disconnect any cables, and then perform the installation procedure in reverse.
Proceed with the printer driver settings.