
This application allows you to perform various tasks such as saving the image to your computer, sending it by email, printing, and uploading to a server or a cloud service. You can also register scanning settings for a job to simplify scanning operations.
See the Document Capture help for details on the features.
Do not use the Fast User Switching function while using your scanner.
Start Document Capture.
Select Finder > Go > Applications > Epson Software > Document Capture.
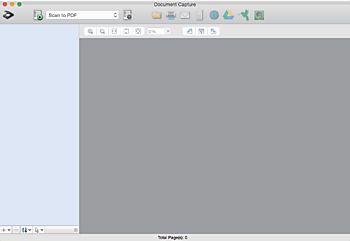
You may need to select the scanner you want to use from the scanners list.
Click  .
.

The Job List screen is displayed.
A preset job is available that allows you to save scanned images as a PDF. When using this job, skip this procedure and go to procedure 10.
Click the + icon.
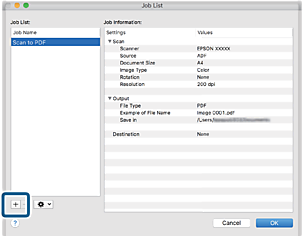
The job setting screen is displayed.
Set the Job Name.
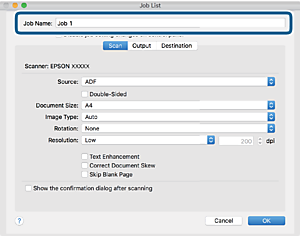
Make scanning settings on the Scan tab.
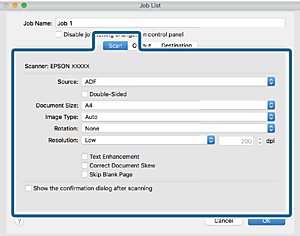
You can also adjust the image using following items.
Text Enhancement: Select to make blurred letters in the original clear and sharp.
Correct Document Skew: Select to correct the slant of the original.
Skip Blank Page: Select to skip blank pages if there are any in the originals.
Click Output, and then make the output settings.
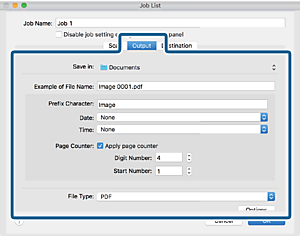
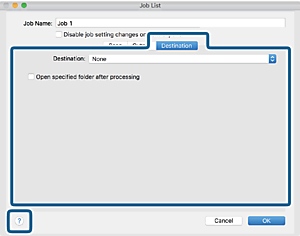
Click Destination, and then select the Destination.
Destination setting items are displayed according to the destination you selected. Make detailed settings as necessary. Click the ? (Help) icon for details on each item.
If you want to upload to a cloud service, you need to set up your account with the cloud service in advance.
If you want to use Evernote as the destination, download the Evernote application from the Evernote Corporation Website and install it before using this feature.
Click OK to close the job settings screen.
Click OK to close the Job List screen.
Place the original.
Select the job from the pull down list, and then click the  icon.
icon.
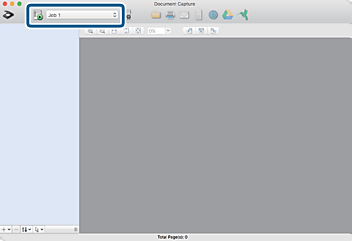
The selected job is performed.
Follow the on-screen instructions.
The scanned image is saved using the settings you made for the job.
You can scan the originals and send the scanned image without using the job. Click  and make scanning settings, and then click Preview Scan. Next, click the destination to which you want to send the scanned image.