
InAutomatic Feeding Mode, scanning starts automatically when originals are loaded into the ADF. This is useful when scanning originals one by one.
Start Epson ScanSmart.
Click  Settings.
Click Scan Settings on the Scanner Settings tab.

The Scan Settings screen is displayed.
Click the Main Settings tab > Automatic Feeding Mode.
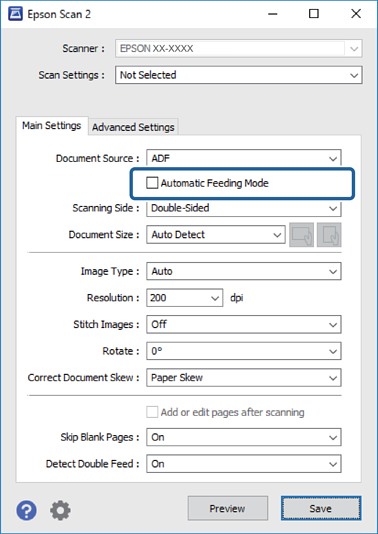
Specify other settings for scanning on the settings screen.
You can make timeout settings to exit Automatic Feeding Mode.
Select Settings on the Document Source list to open the Document Source Settings window. Set Automatic Feeding Mode Timeout (seconds) on the screen displayed.
Click Save to close the settings screen.
Click Close to close the Settings window.
Click Scan double-sided or Scan single-sided.
Automatic Feeding Mode starts.
Change the position of the scanner according to the type of original, adjust the edge guides, and then place the original in the ADF.
You can set Scanner Settings on the scanner's control panel.
- Double Feed Stop Timing: Set the operation to be performed when a double feed is detected.
- Paper Protection: Reduces damage to the originals by stopping scanning immediately when a feeding error occurs.
- Glass Dirt Detection: Detects dirt on the glass surface inside the scanner.
Scanning starts automatically.
After scanning stops, place the next original in the ADF.
Repeat this procedure until you have scanned all originals.
After you have scanned all originals, exit Automatic Feeding Mode.
Select Done on the scanner's control panel or press Finish on the Automatic Feeding Mode screen displayed on your computer.
Follow the instructions of the Epson ScanSmart to save the scanned image.