
Use the scanning application Epson ScanSmart to scan.
This application allows you to scan documents easily, and then save the scanned images in simple steps. See the Epson ScanSmart help for details on how to use the application. This section explains how to scan and save to a PDF file as a basic step.
Place the originals on your scanner.
Start Epson ScanSmart.
Click Scan double-sided or Scan single-sided.
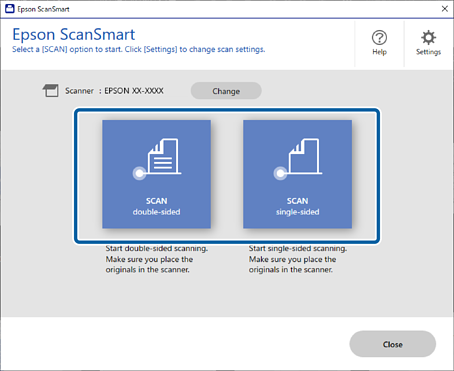
Scanning starts automatically.
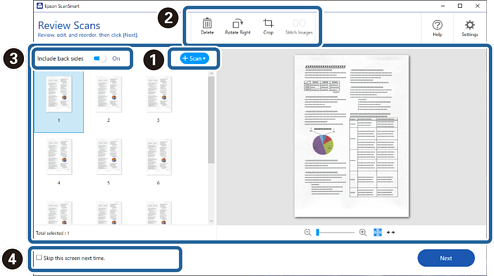
Check the scanned images, and organize them if necessary.
 You can add originals and scan them by clicking Scan.
 You can use the buttons at the top of the screen to edit scanned images.
 You can choose to keep or discard the back sides of double-sided scanned images from Include back sides.
 If you do not want to check scanned images each time, select Skip this screen next time.
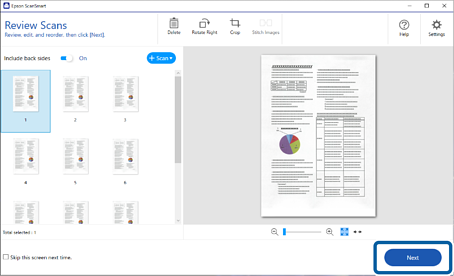
Click Next.
Click Select Action on the Save window.
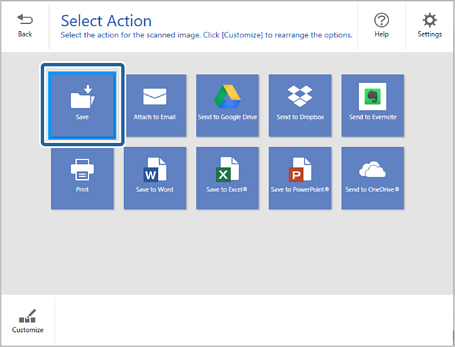
Check or change the save settings as necessary.
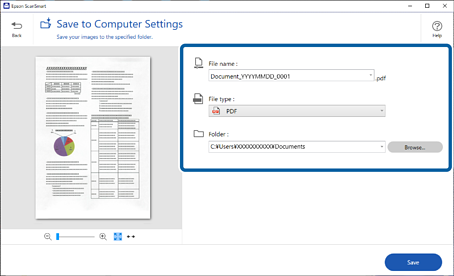
Click Save.

The scanned image is saved to the specified folder.