Make sure there is enough space in front of the scanner for the ejected originals.
Make sure that the scanner position icon is  (straight path position).
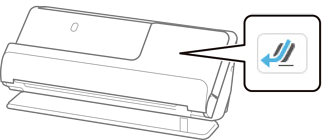
If  (vertical path position) is displayed, pull the scanner position selector to tilt the scanner back.
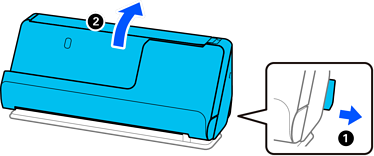
Open the input tray.
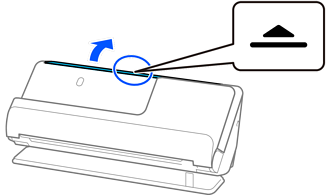
Raise the input tray extension.
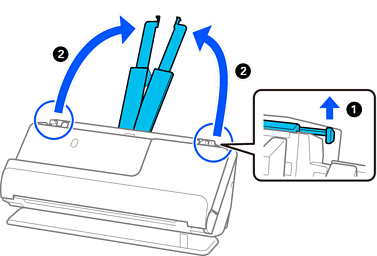
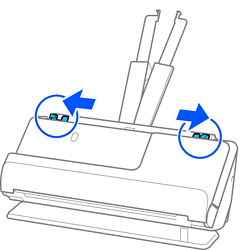
Move the edge guides to the edges of the input tray.
Load the envelope in a portrait orientation with the side to be scanned facing up. For envelopes with the opened edge (flap side) on the shorter side, you can load the envelope with the opened edge (flap side) facing up.
Insert the envelope into the ADF until it meets resistance.
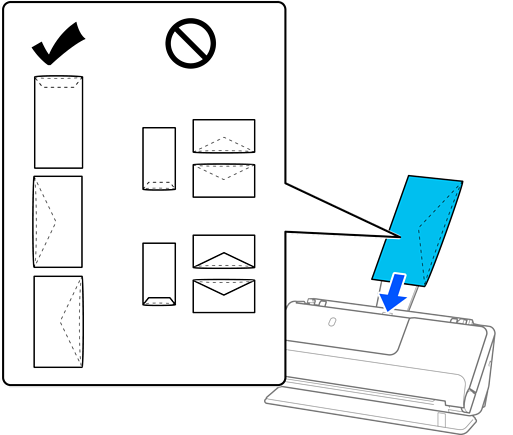
Do not load envelopes with adhesives on them.
Envelopes that are not cut cleanly at the flap edge when they are opened may not be scanned correctly.
Envelopes that have not yet been sealed can be loaded with the flap open and facing up.
Adjust the edge guides to fit the edges of the envelope so that there are no gaps. Otherwise, the envelope may be fed skewed.
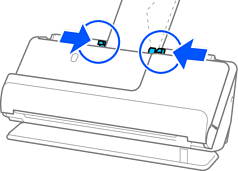
If the edge guides are too far apart or too tight, the original may not be fed correctly. The edge guides should be aligned so that they lightly touch the edges of the original.
We recommend selecting the appropriate rotation angle or Auto as the Rotate setting in the application.
When scanning envelopes, make the appropriate settings on the Epson Scan 2 screen.
When you are using Epson ScanSmart, you can open the Epson Scan 2 screen by clicking the Settings button > Scanner Settings tab > Scan Settings.
Select Main Settings tab > Detect Double Feed > Off. See the Epson Scan 2 help for details.
If you have not disabled Detect Double Feed on the Epson Scan 2 screen and a double feed error occurs, remove the envelopes from the ADF and reload them.