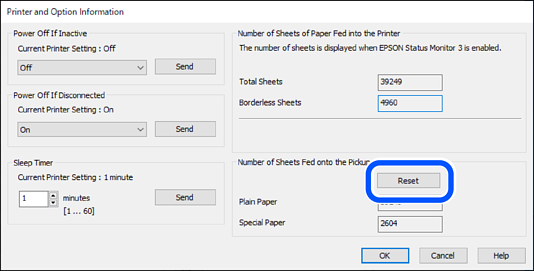
When paper is not loaded correctly even if the pickup roller has been cleaned, replace it. Reset the number of sheets that have been fed onto the pickup roller after replacing it.
 You can also watch the procedure in the Web Video Manuals. Access the following website.
Press the  button to turn off the printer.
Unplug the power cord.
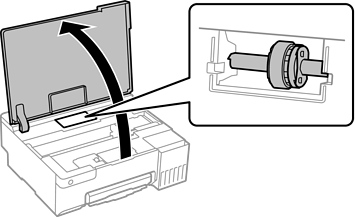
Open the printer cover.
You can find the pickup roller in the position indicated in the following illustration.
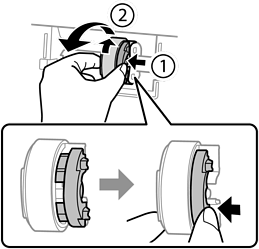
Remove the pickup roller.
Press the tab on the right side of the pickup roller, slide it backward, and then pull it straight up.
Remove the new pickup roller from its package.
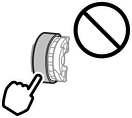
Do not touch the rubber part on the pickup roller.
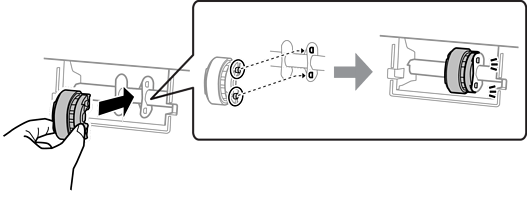
Press the tab on the right side, and then align the protruding parts with the holes to attach the new pickup roller.
Close the printer cover.
Connect the power cord.
Press the button to turn on the printer.
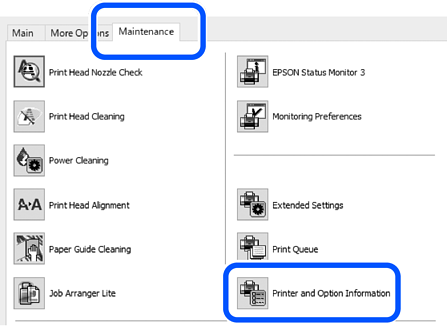
Access the printer driver on the computer.
Reset the roller counter from the printer driver.