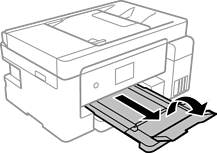
Open the paper cassette cover until it clicks.
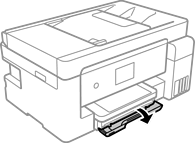
Check that the printer is not operating, and then slide out the paper cassette.
The paper cassette cannot be removed.
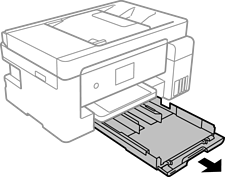
Slide the edge guides to their maximum position.
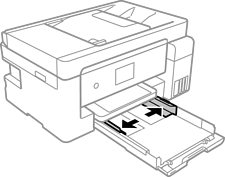
With the printable side facing down, load paper until it touches the back of the paper cassette.
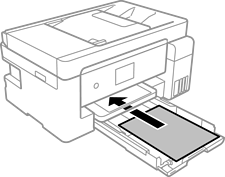
Do not load more than the maximum number of sheets specified for the paper.
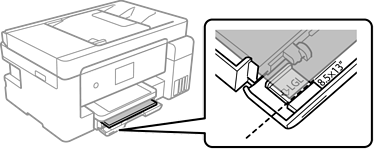

Slide the edge guides to the edges of the paper.
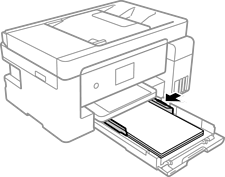
Insert the paper cassette gently.
Select the paper size and paper type. If your paper size is not displayed, select User-Defined.
For letterhead paper, select Letterhead as the paper type.
For letterhead paper, if you print on paper that is smaller than the setting in the printer driver, the printer may print beyond the edges of the paper which can lead to ink smears on your printouts and excess ink building up inside the printer. Make sure you select the correct paper size setting.
2-sided printing and borderless printing are not available for letterhead paper. Also, the print speed may be slower.
Slide out the output tray.