
For ET-2900U only
Maintenance boxes are provided to you as part of the ReadyPrint program
In some print cycles a very small amount of surplus ink may be collected in the maintenance box. To prevent ink leakage from the maintenance box, the printer is designed to stop printing when the absorbing capacity of the maintenance box has reached its limit. Whether and how often this is required will vary according to the number of pages you print, the type of material that you print and the number of cleaning cycles that the printer performs. Replace the maintenance box when you are prompted to do so. The Epson Status Monitor, your LCD, or lights on the control panel will advise you when this part needs replacing. The need for replacement of the box does not mean that your printer has ceased to operate in accordance with its specifications. The Epson warranty does not cover the cost of this replacement. It is a user-serviceable part.
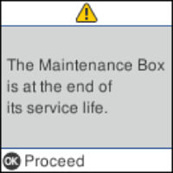
When the maintenance box is full, you cannot print or clean the print head until the maintenance box is replaced, in order to avoid ink leakage. However, you can perform operations that do not use ink, such as scanning.
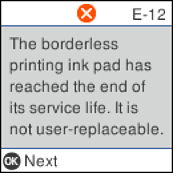
When the following screen is displayed, contact Epson support.
You cannot perform borderless printing until the part is replaced, but you can continue to print with borders.
Remove the new maintenance box from its package.
Do not touch the green chip on the side of the maintenance box. Doing so may prevent normal operation and printing.
A transparent bag for the used maintenance box is provided with the new maintenance box.
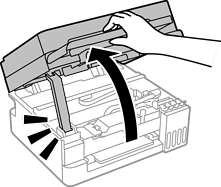
Open the scanner unit until it clicks.
Remove the cover.
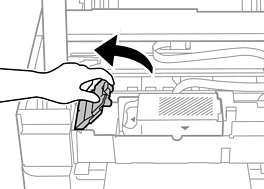
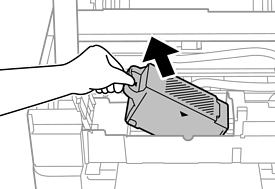
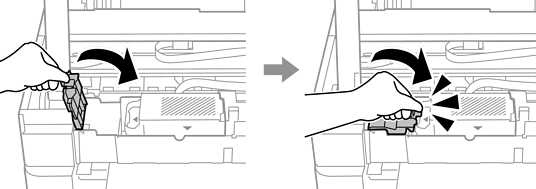
Remove the used maintenance box.
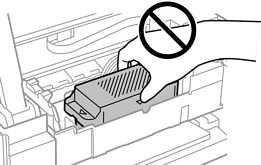
Do not hold the maintenance box as shown in the following illustration.
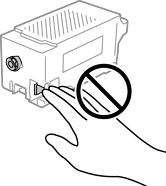
Do not touch the sections shown in the illustration. Doing so may prevent normal operation and you may get smeared with ink.
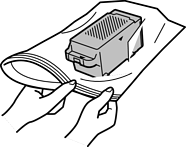
Put the used maintenance box in the transparent bag that came with the new maintenance box and seal the bag shut.
Insert the new maintenance box all the way into the printer. Make sure you insert the box in the correct direction.

Reattach the cover.
Close the scanner unit.
For safety, the scanner unit is closed in two steps.
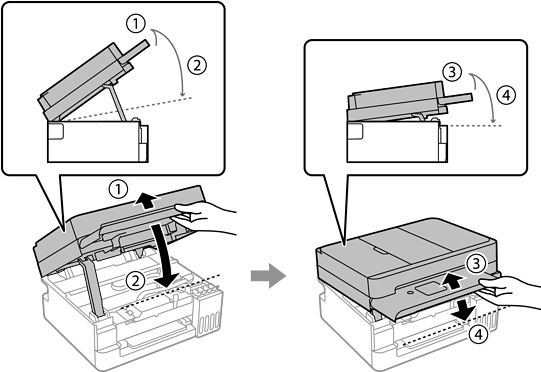
The scanner unit must be closed completely before it can be opened again.
Review the message on the LCD screen, and then press the OK button.
Review the message on the LCD screen, and then press the  button.