

Operations and screens differ depending on the application. See the application's help for details.
Load paper in the printer.
Open the file you want to print.
Select Print from the File menu or another command to access the print dialog.
If necessary, click Show Details or to expand the print window.
Select your printer.
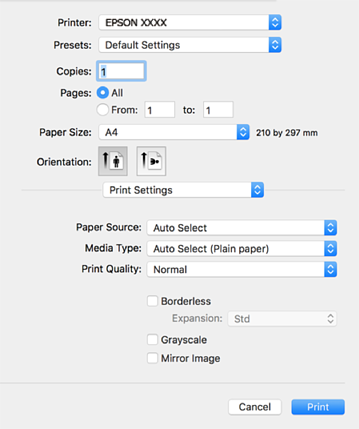
Select Print Settings from the pop-up menu.
If the Print Settings menu is not displayed on macOS High Sierra, macOS Sierra, OS X El Capitan, OS X Yosemite, OS X Mavericks, OS X Mountain Lion, the Epson printer driver has not been installed correctly. Enable it from the following menu. macOS Catalina and macOS Mojave cannot access Print Settings in applications made by Apple such as TextEdit.
Select System Preferences from the Apple menu > Printers & Scanners (or Print & Scan, Print & Fax), remove the printer, and then add the printer again. See the following to add a printer.
Change the settings as necessary.
See the menu options for the printer driver for details.
Click Print.
If you want to cancel printing, on your computer click the printer icon in the Dock. Select the job you want to cancel, and then do one of the following. However, you cannot cancel a print job from the computer once it has been completely sent to the printer. In this case, cancel the print job by using the printer's control panel.
OS X Mountain Lion or later
Click  next to the progress meter.
Mac OS X v10.6.8 to v10.7.x
Click Delete.