This section explains how to print chopstick wrappers or place mats using Epson Photo+ computer software.
Start Epson Photo+.

Application for Quick and Fun Printing from a Computer (Epson Photo+)
Click Free Layout.
Select the paper size and orientation, and then click OK.
For chopstick wrappers, select A4 size.
For place mats, select the size you want to print.
Click  , and then select a color or pattern for the background.
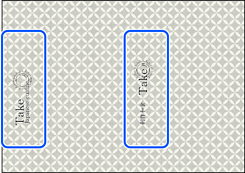
You can also add text and stamps.
When printing chopstick wrappers, place text and stamps in the positions shown below.
Select the paper type you want to print on from the Media Type setting.
Set the other items as necessary.
Load paper in the printer and start printing.
When printing is finished, your place mats are complete.
To print chopstick wrappers, go to the next step.
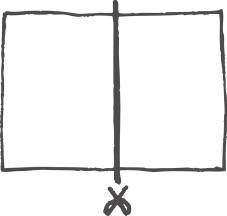
Cut the printed paper in half.
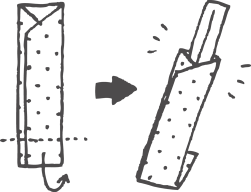
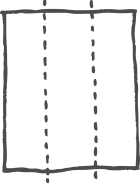
Place the paper vertically with the printed side facing down, fold it vertically into thirds making creases, and then unfold.
Cut off as shown below, and fold along the creases.
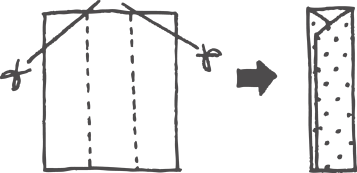
Fold over 2 to 3 cm from the bottom.