
To use this feature, make sure the following applications are installed on your computer.
Epson Event Manager
Epson Scan 2
See the following to check for installed applications.
Windows 10: Click on the start button, and then select Windows System-Control Panel-Programs-Programs and Features.
Windows 8.1/Windows 8: Select Desktop-Settings-Control Panel-Programs-Programs and Features.
Windows 7: Click the start button, and then select Control Panel-Programs-Programs and Features
Mac OS: Select Go > Applications > Epson Software.
Place the originals.
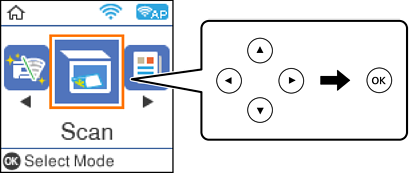
Select Scan on the control panel.
To select an item, use the


 buttons, and then press the
OK button.
buttons, and then press the
OK button.
Select how to save the scanned image to a computer from the following menus, and then press the OK button.
Select the computer to which you want to save the scanned images.
When the printer is connected to a network, you can select the computer to which you want to save the scanned image. You can display up to 20 computers on the printer's control panel. If you set Network Scan Name (Alphanumeric) in Epson Event Manager, it is displayed on the control panel.
Press the  button.