
Extend the input tray extension. Slide out the output tray, and extend the output tray extension.
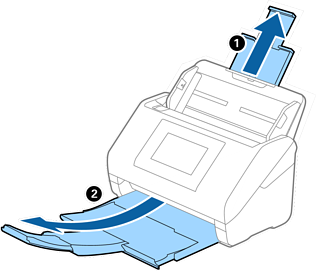
Extend the output tray extension when scanning long originals.
If the scanned originals fall out of the output tray, raise the stopper.
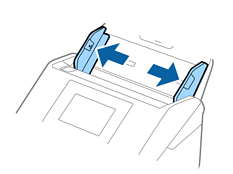
Slide the edge guides on the input tray all the way out.
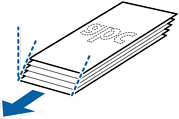
Try to flatten the curled receipts before scanning.
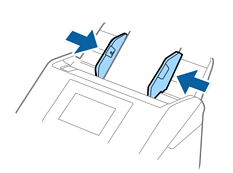
Align the edges of the receipts with the printed side facing down and slide the leading edge into a wedge shape.
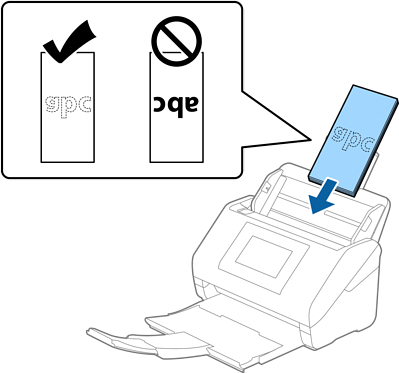
Load the originals into the input tray facing down with the top edge facing into the ADF.
Slide the originals into the ADF until they meet resistance.
Adjust the edge guides to fit the original without any gap. Otherwise, the originals may be fed skewed.
Select Auto Detect as the document size for scanning.