
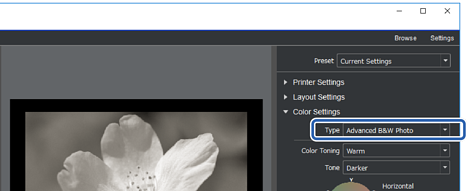
In Advanced B&W Photo, you can make adjustments while checking the results in the preview area to easily create beautiful black and white print outs. The photo data itself can be either color or monochrome.
Depending on the paper selected in Media Type from Printer Settings, Advanced B&W Photo may not be displayed.
Select Advanced B&W Photo from Type in Color Settings.
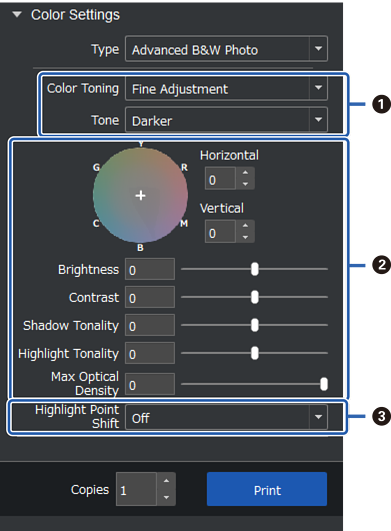
Make any necessary detailed settings, and then click Print.
|
|
Color Toning: Select your favorite black from the following four types.
Tone: You can adjust the modulation of black and white. |
|
|
You can adjust the black tone.
|
|
|
Switch on and off as needed. On: Slightly adds color to the highlights of the image and reduces blown out highlights. On (Full Page): The entire paper is coated with the adjusted color and the texture makes it look like it was printed on light-colored paper. |


