Connecting a Receipt Printer to an iPad
Make settings to connect the iPad to the receipt printer.
The illustration used is of the TM-m30III-H.
-
Make sure the receipt printer is turned off.
-
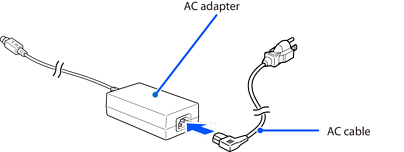
Connect the AC cable to the AC adapter.
-
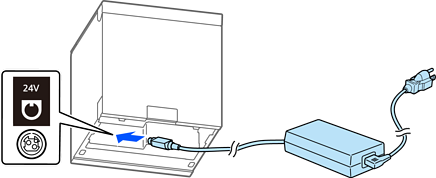
Connect the DC cable of the AC adapter to the power connector.
-
Connect the iPad to the receipt printer with a USB cable.
Important:Be sure to use a genuine iPad cable or a USB-certified cable for the connection. Also, if you are using a Lightning cable, use an MFi-certified cable.
-
For the TM-m30II-HConnect your iPad to the USB connector (USB-A - Device Charging).
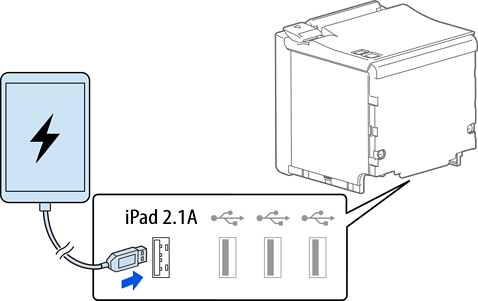 Note:
Note:USB-A - Device Charging allows data communication while charging the iPad.
-
For the TM-m30III-HConnect the iPad to the USB-C connector (USB-PD compatible) or the USB-C connector.
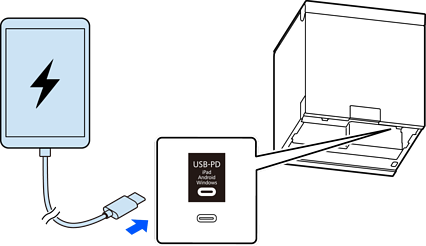 Note:
Note:The USB-C connector (USB-PD compatible) allows data communication while charging the iPad.
-
-
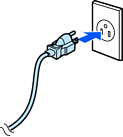
Connect the plug on the AC cable to the outlet.
-
Turn on the receipt printer.
For more details about receipt printers, see the user's guide for the product.