Checking and Changing Product Status Using Web Browser
You can access the printer's web interface (called "Web Config") by using a web browser. You can check and change the printer's status on it. Printers and computers or smart devices must have an IP address and be connected to the same network.
The content displayed on the screens varies depending on the model and situation.
-
Check the printer's IP address.
You can check the IP address by printing a network connection report.
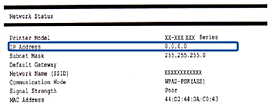 Note:
Note:If you want to know the IP address of Wi-Fi Direct connection or IPv6 information, print a network status sheet.
-
Run a Web browser from a computer or smart device, and then enter the printer's IP address.

Format:
IPv4: http://the printer's IP address/
IPv6: http://[the printer's IP address]/
Examples:
IPv4: http://192.168.100.201/
IPv6: http://[2001:db8::1000:1]/
Note:-
When accessing Web Config via HTTPS, a warning message will appear in the browser since a self-signed certificate, stored in the printer, is used.
-
Using the smart device, you can also run Web Config from the maintenance screen of Epson iPrint.
-
-
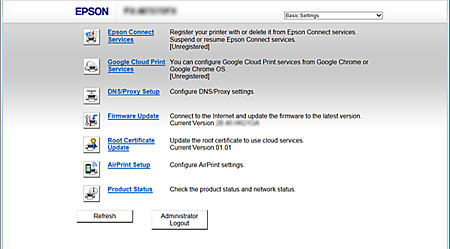
Check and change the printer status as necessary .
The following pages are example. Some models cannot be switched the page. For details, see User's Guide or Administrator's Guide (only available for specific model) for your product.
-
Basic SettingsYou can configure the basic settings for the printer.
-
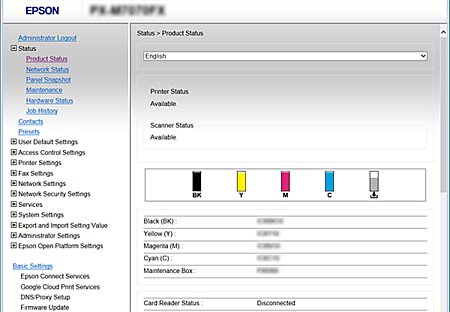
Advanced SettingsYou can configure the advanced settings for the printer. This page is mainly for an administrator.
-