Setting Up and Connecting from Computer by WSD Port (for Windows Only)
This section explains how to set up a WSD port for Windows 7/Windows Vista.
For Windows 8 or later, the WSD port is set up automatically.
The following is necessary to set up a WSD port.
-
The printer and computer are connected to the network.
-
The printer driver is installed on the computer.
-
Turn the printer on.
-
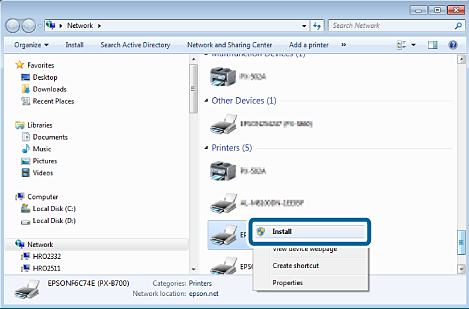
Click start, and then click Network on the computer.
-
Right-click the printer, and then click Install.
Click Continue when the User Account Control screen is displayed.
Click Uninstall and start again if the Uninstall screen is displayed.
 Note:
Note:The printer name you set on the network and model name (EPSONXXXXXX(XX-XXXX)) are displayed on the network screen. You can check the printer's name set on the network from the printer's control panel or by printing a network status sheet or a network connection report.
-
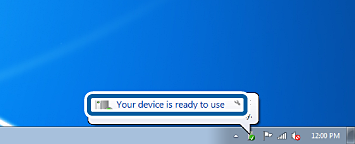
Click Your device is ready to use.
-
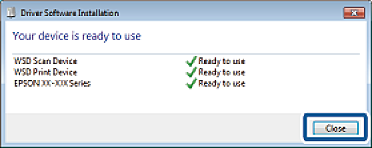
Check the message, and then click Close.
-
Open the devices and printers screen.
-
Windows 7Click start > Control Panel > Hardware and Sound (or Hardware) > Devices and Printers.
-
Windows VistaClick start > Control Panel > Hardware and Sound > Printers.
-
-
Check that an icon with the printer's name on the network is displayed.
Select the printer name when printing with WSD.