Checking and Changing Product Status Using Web Browser
You can access the scanner's web interface (called "Web Config") by using a web browser. You can check and change the scanner's status on it. Scanners and computers or smart devices must have an IP address and be connected to the same network.
The content displayed on the screens varies depending on the model and situation.
-
Check the scanner's IP address.
You can check the IP address on Epson Scan 2.
-
Run a Web browser from a computer or smart device, and then enter the scanner's IP address.

Format:
IPv4: http://the scanner's IP address/
IPv6: http://[the scanner's IP address]/
Examples:
IPv4: http://192.168.100.201/
IPv6: http://[2001:db8::1000:1]/
Note:When accessing Web Config via HTTPS, a warning message will appear in the browser since a self-signed certificate, stored in the scanner, is used.
-
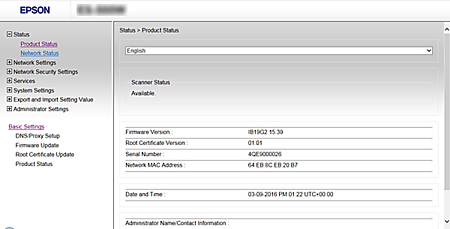
Check and change the scanner status as necessary.
There are two setting pages as below.
-
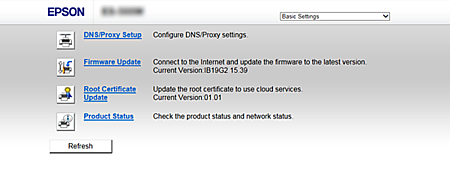
Basic Settings
-
You can configure the basic settings for the scanner.
-
For some models, you can only check the firmware version as below.

-
-
Advanced SettingsYou can configure the advanced settings for the scanner. This page is mainly for an administrator.
Note:-
Advanced Settings may not be available for some models.
-
If the password has been set, contact your network administrator for assistance.
-