Changing Connection Method to Wi-Fi - Mac OS X
Try this procedure if the scanner has already been connected to the computer by USB, but you want to change to Wi-Fi connection.
The content displayed on the screens varies depending on the model and situation.
-
Unplug the USB cable from the scanner if you connected the scanner by USB.
-
Connect the computer to the SSID for the access point that you want to connect to.
-
Access the following website from the computer you want to connect to the scanner, and then enter the product's name.
-
Go to Setup.
-
Click Download to download the installer.
-
Run the installer by clicking or double-clicking the downloaded file.
-
Double-click the following icon.

-
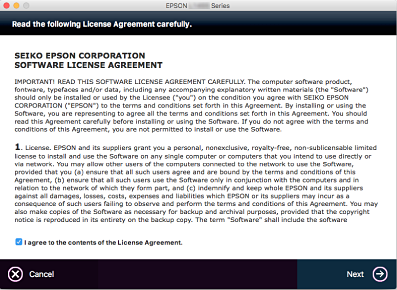
Check the licence agreement and click Next.
-
Select the software to install and click Install.
Epson Driver and Utilities and Epson Network Utilities must be selected.
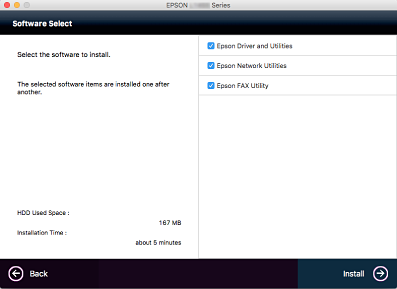
The software installation starts.
-
Select Wi-Fi Network Connection on the following screen.
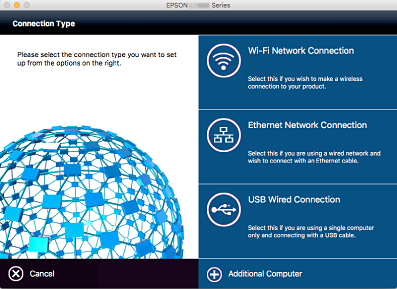
Follow the on-screen instructions.