This section explains how to set up a WSD port for Windows 7/Windows Vista.
For Windows 8 or later, the WSD port is set up automatically.
The following is necessary to set up a WSD port.
The printer and the computer are connected to the network.
The printer driver is installed on the computer.
Turn the printer on.
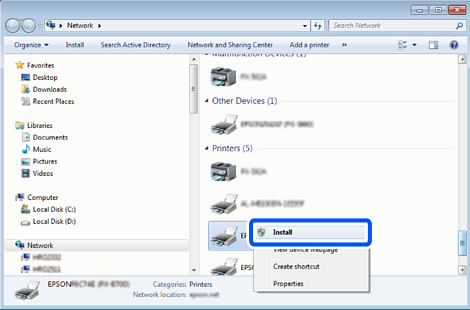
Click start, and then click Network on the computer.
Right-click the printer, and then click Install.
Click Continue when the User Account Control screen is displayed.
Click Uninstall and start again if the Uninstall screen is displayed.

The printer name you set on the network and model name (EPSON XXXXXX (XX-XXXX)) are displayed on the network screen. You can check the printer's name set on the network from the printer's control panel or by printing a network status sheet.
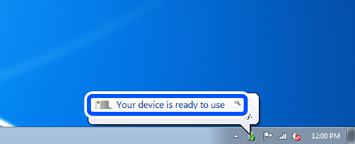
Click Your device is ready to use.

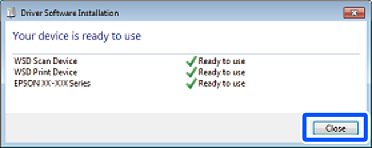
Check the message, and then click Close.

Open the Devices and Printers screen.
Check that an icon with the printer's name on the network is displayed.
Select the printer name when using with WSD.