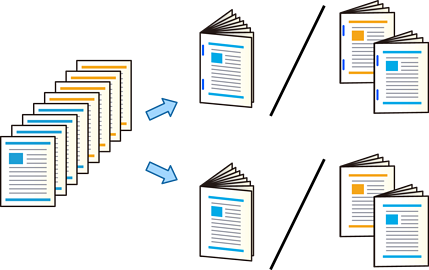
You can eject each set of copies with saddle stitching or folding.

Place the originals.
Select Copy on the home screen.
Select the Basic Settings tab.
Select Paper Setting, select the paper source in which you loaded the paper, and then select OK.
Select 2-Sided, and then select 2→2-Sided or 1→2-Sided.
Specify other settings such as the original orientation and the binding position as necessary, and then select OK.
Select Reduce/Enlarge, specify the amount of enlargement or reduction, and then select OK.
Select the Advanced tab, select Booklet > Booklet, and then enable Booklet.
Specify the biding position and binding margin and then select OK.
Select Saddle Stitch or Half Fold, and then enable the setting.
Specify the details as the number of sheet for saddle stitch or half fold and paper setting .
If booklets or paper remain in the booklet tray, you will not be able to start bookbinding printing. Make sure there is nothing on the booklet tray.
Tap  .
.