
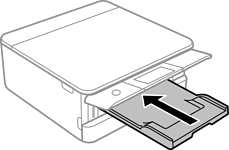
If the output tray is extended, select  to close it.
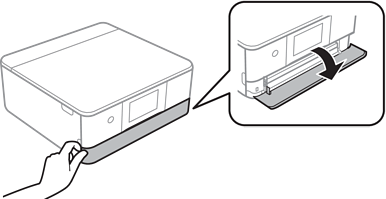
Open the front cover until it clicks.
Check that the printer is not operating, and then slide out the paper cassette 2.
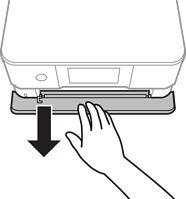
You can load paper even if you pull out paper cassette 2 completely. Lift up paper paper cassette 2 slightly, and then pull it out.
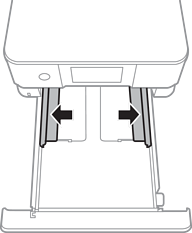
Slide the edge guides to their maximum position.
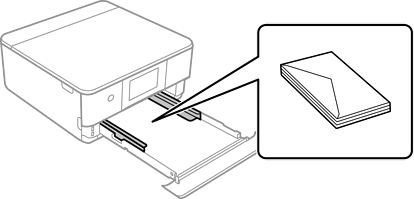
Load envelopes.
With the printable side facing down, load envelopes until they touch the back of the paper cassette.
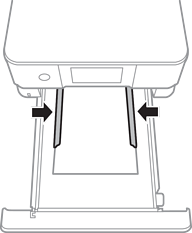
Slide the edge guides to the edges of the envelopes.
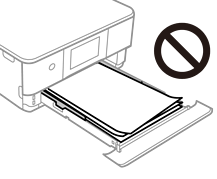
Do not load more than the maximum number of sheets specified for the envelopes.
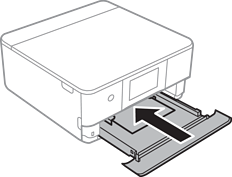
Insert paper cassette 2 as far as it will go.
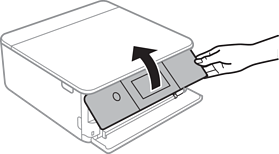
Raise the control panel.
Select the paper size and paper type.
The paper setting screen is not displayed if you have disabled Paper Configuration in the following menu. In this situation, you cannot print from an iPhone or iPad using AirPrint.
Settings > Printer Settings > Paper Source Setting > Paper Configuration
Check the settings, and then select Close.
The output tray slides out automatically when printing starts. You can slide it out manually before printing starts.