
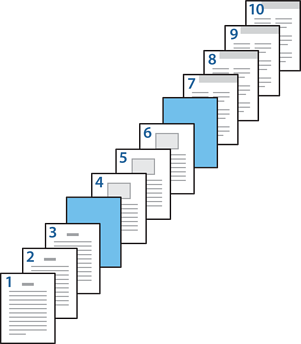
You can insert a slip sheet by specifying the page and paper source. This section gives instructions for inserting a slip sheet before pages 4 and 7 as shown in the figure.
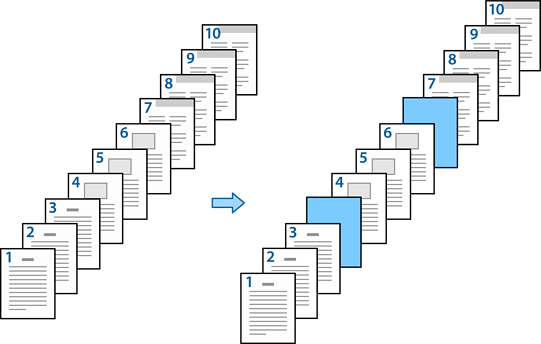
Load paper as described below.
Paper Cassette 1: white paper (plain paper), Paper Cassette 2: light blue paper (slip sheet)
Open the file you want to print on your computer.
On the printer driver's Main tab, select the primary paper source from Paper Source.
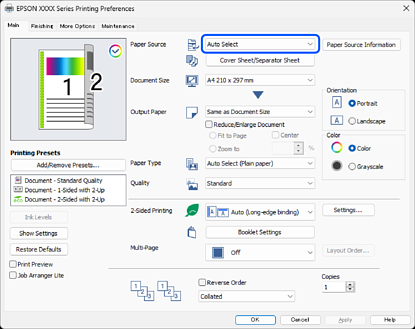
In this example, select Paper Cassette 1 to specify white paper (plain paper) for pages 1 to 10. The process for inserting slip sheets before pages 4 and 7 will be explained beginning from step 5.
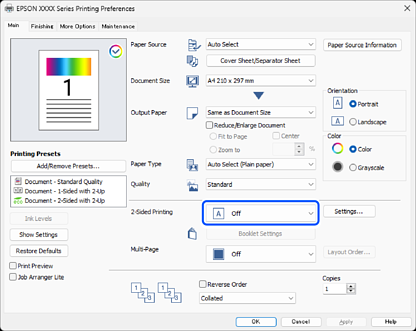
Select Off from 2-Sided Printing.
Select Cover Sheet/Separator Sheet from Paper Source.
Select Slip Sheet/Chapter and click Settings to open the detailed settings screen.
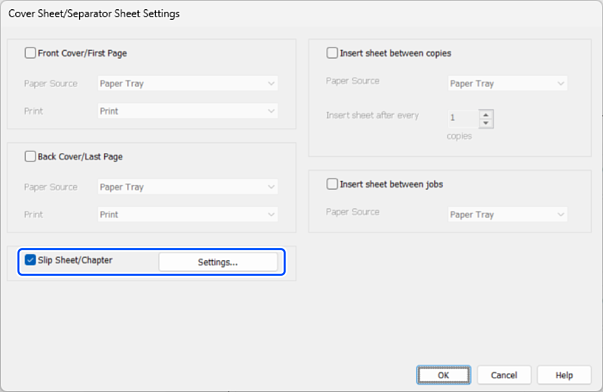
Follow the steps below to make detailed settings on the Slip Sheet/Chapter Settings screen.
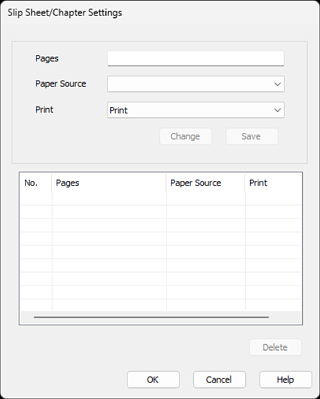
In this example, enter the page numbers that will have slip sheets in front of them in Pages
Pages: 4,7
Select the paper source containing the slip sheets from Paper Source.
Paper Source: Paper Cassette 2
Select Do not print from the Print menu, and then click Save.
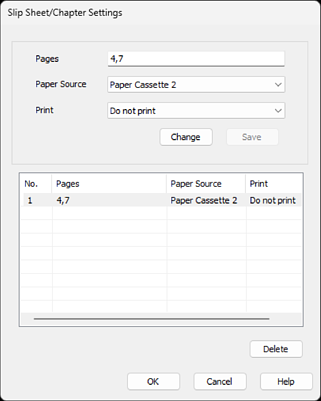
Click OK to close the Slip Sheet/Chapter Settings screen, and then click OK to close the Cover Sheet/Separator Sheet Settings screen.
Select other settings on the Main, Finishing or More Options tabs as necessary, and then click OK.
Click Print.