
Enter the printer's IP address into a browser to access Web Config.
Enter the printer's IP address from a computer that is connected to the same network as the printer.
You can check the IP address of the printer from the following menu.
Settings > General Settings > Network Settings > (Standard) > Network Status > Wired LAN/Wi-Fi Status
Enter the administrator password to log in as an administrator.
Select in the following order.
Scan/Copy or Fax tab > Contacts
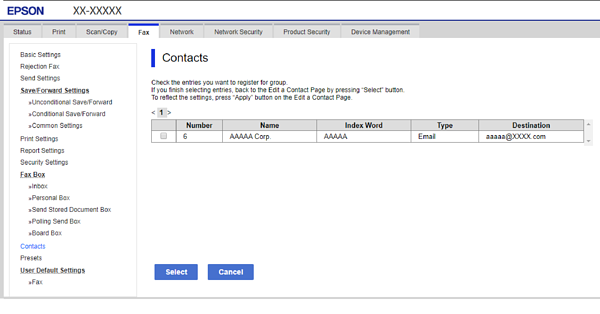
Select the number that you want to register, and then click Edit.
Select a group from Type.
Click Select for Contact(s) for Group.
The available destinations are displayed.
Select the destination that you want to register to the group, and then click Select.
Enter a Name and Index Word.
Select whether or not you assign the registered group to the frequently used groups.
Destinations can be registered to multiple groups.
Click Apply.