
You can send scanned images to destinations registered in Epson Connect.
You need to configure settings in advance. See the following link for details on the work flow for configuring settings.
Place the original.
Select Cloud on the home screen on the scanner's control panel.
Select  on the top of the screen, and then select a destination.
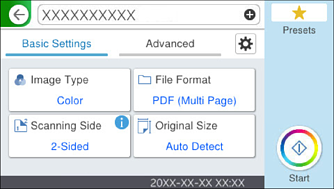
Select items on the Basic Settings tab, such as the save format.
Basic Menu Options for Scanning to the Cloud
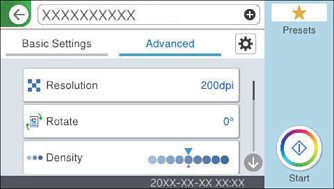
Select the Advanced tab, review the settings, and then change them if necessary.
Advanced Menu Options for Scanning to the Cloud
Select  to save your settings as a preset.
Select  , check the Scanner Settings, and then change them if necessary.
Tap  .
.
The scanned image is sent to the registered destination.