
Open and slide out the rear paper feeder to its maximum position.
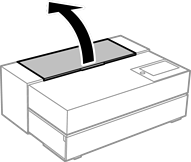
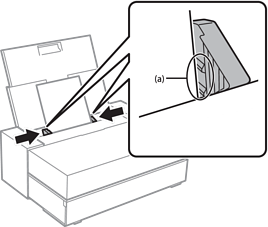
Be careful not to trap your fingers at the points shown in the illustration.
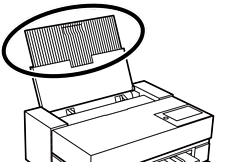
Slide out the edge guides.
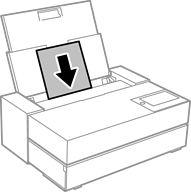
Load paper with the printable side facing up.
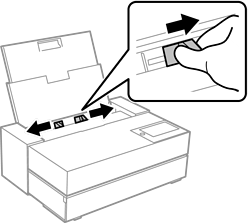
Slide the parts of the edge guides indicated by (a) to the edges of the paper.
The paper setting screen is displayed on the printer's control panel.
Select the paper size and paper type and then select OK.
When using commercially available paper other than genuine Epson paper, select the paper type that closest to that paper. If you use paper information which has been added by Epson Media Installer, make sure you select the paper type.
If you have registered paper information to your printer, the printer informs you if the registered information and the print settings differ. This prevents you from making the misprints.
If you have not used the register function, select  > General Settings > Printer Settings, and then disable the Paper Setup Auto Display setting. If you disable this setting, some functions will be unavailable. See Related Information for more details.
Open the front cover.
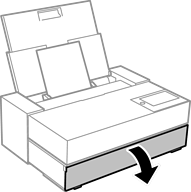
Slide out the output tray to its maximum position.
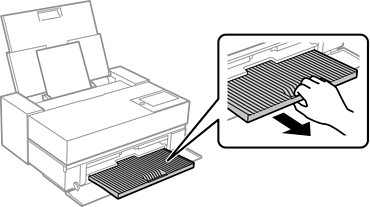
To avoid paper jams, make sure you open the front paper feeder and extend the output tray before printing.