Installing Ink Cartridges
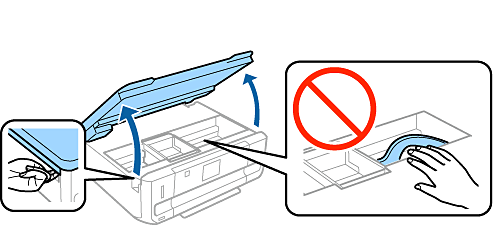
1 When instructed to install the ink cartridges, open the scanner unit.
|
Do not touch the white cable inside the printer. |
2 Remove all ink cartridges from their packages.

|
|
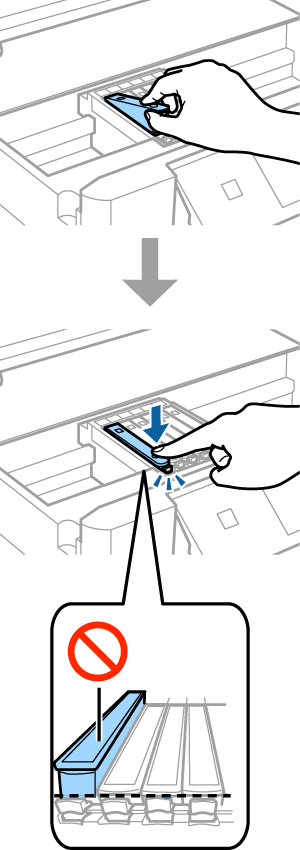
3 Remove the caps and store them in the plastic bag.

4 Insert the ink cartridge diagonally into the cartridge holder and gently push it down until it clicks into place. Repeat this step to insert all ink cartridges.
|
Make sure all the cartridges are aligned. |
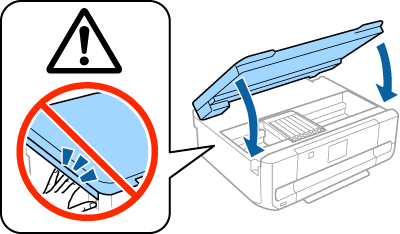
5 Close the scanner unit slowly.
6
Press the  button on the printer to start charging the ink. Go straight to the next step. It is not necessary to wait for the ink to
finish charging.
button on the printer to start charging the ink. Go straight to the next step. It is not necessary to wait for the ink to
finish charging.

|
|