
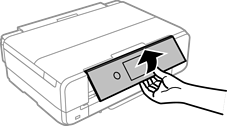
When the output tray is extended, check that there is no paper on the tray, and then close it by selecting  or pushing it with your hand.
Raise the control panel.
Open the front cover until it clicks.
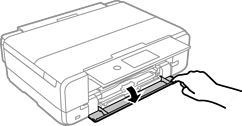
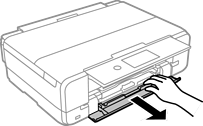
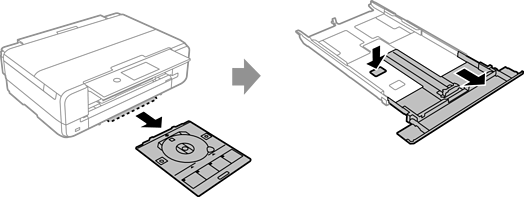
Make sure the printer is not performing any functions and then pull out paper cassette 2.
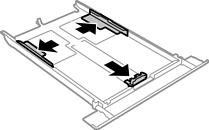
Slide the edge guides all the way out.
For U.S. and Canada only
If you are using Legal size paper, remove the CD/DVD tray from under paper cassette 2. Then press the button on the cassette and extend it as shown.
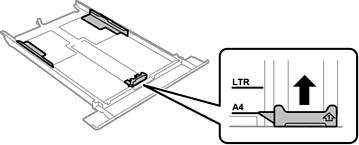
Slide the front edge guide to the paper size you want to use.
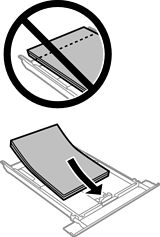
With the printable side facing down, load paper against the front edge guide.
Make sure the paper does not extend beyond the triangle symbol at the end of the cassette.
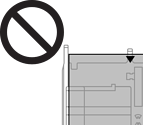
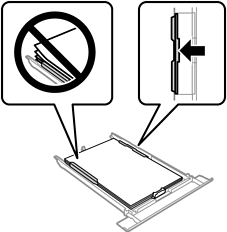
Do not load more than the maximum number of sheets specified for the paper. For plain paper, do not load above the line just under the triangle symbol inside the edge guide.
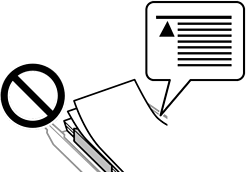
Do not load different types of paper in the cassette.
Slide the edge guide to the edge of the paper.
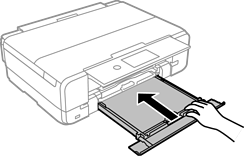
Insert paper cassette 2.
Select the paper size and paper type.
Check the settings, and then select Close.
The output tray slides out automatically when printing starts.