
Enter the printer's IP address into a browser to access Web Config.
Enter the printer's IP address from a computer that is connected to the same network as the printer.
You can check the IP address of the printer from the following menu.
Settings > General Settings > Network Settings > (Standard) > Network Status > Wired LAN/Wi-Fi Status
Enter the administrator password to log in as an administrator.
Select the following menus.
Scan/Copy tab or the Fax tab > Contacts
Select the contacts number you want to register, and then select Edit.
Enter a Name and Index Word.
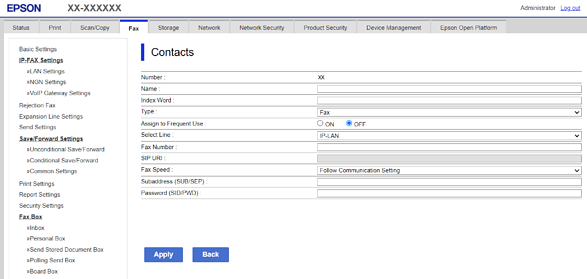
Select Internet Fax as the Type option.
You cannot change the Type option after registration is complete. To change the type after registration is complete, delete the destination and then register again.
Enter the Internet Fax Recipient.
Set the Send by SMTP Server.
When sending through an email server, set Send by SMTP Server to ON. When set to OFF, faxes are sent directly to the recipient's Internet Fax-compatible device without going through an email server.
Select the option that matches the destination set in Internet Fax Recipient.
Set the other items as necessary, and then click Apply.