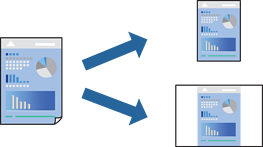
If you create your own preset of frequently used print settings on the printer driver, you can print easily by selecting the preset from the list.

Load paper in the printer .
Open the file you want to print.
Select Print or Print Setup from the File menu.
Select your printer.
Select Preferences or Properties to access the printer driver window.
Set each item (such as Document Size and Paper Type) in Main or More Options.
Click Add/Remove Presets in Printing Presets.
Enter a Name and, if necessary, enter a comment.
Click Save.
To delete an added preset, click Add/Remove Presets, select the preset name you want to delete from the list, and then delete it.
Click Print.
The next time you want to print using the same settings, select the registered setting name from Printing Presets, and click OK.