
You can load a roll paper by referring to the animations displayed on the printer's control panel.
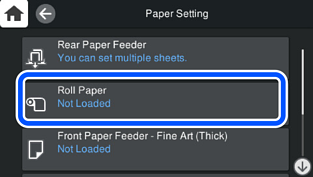
Select Paper Setting on the printer's control panel.

Select Roll Paper.
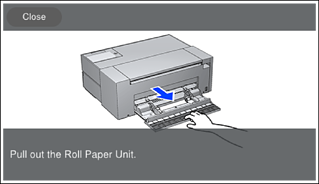
Load the roll paper by referring to the animations displayed on the screen.
Remove any slack from the roll paper before setting it in the roll paper unit. If the roll paper has slack, it may not feed correctly.
Do not store the roll paper in the roll paper unit. The surface of the roll paper may get scratched or soiled.
The paper setting screen is displayed on the printer's control panel.
Select the paper size and paper type and then select OK. When using commercially available paper other than genuine Epson paper, select the paper type that closest to that paper.
Note the following when loading roll paper in the printer.
Insert the top edge of the paper slowly with both hands until you hear a beep. When there is only a small amount of roll paper remaining, insert more of the top edge of the paper than usual.
Make sure that the top edge of the paper has a straight cut which is perpendicular to the long side. If paper is slanted or the cut edge is uneven, it may not be fed correctly. We recommend printing with Paper Setting > Print Cutting Guideline enabled to make straight paper cuts.
If you have registered paper information to your printer, the printer informs you if the registered information and the print settings differ. This prevents you from making the misprints.
If you have not used the register function, select  > General Settings > Printer Settings, and then disable the Paper Setup Auto Display setting. If you disable this setting, some functions will be unavailable. See Related Information for more details.