
Load paper in the printer.
Loading Paper in Paper Cassette 1
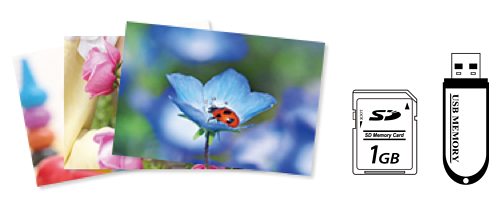
Insert a memory device into the SD card slot or the external interface USB port of the printer.
If Auto Selection Mode in Guide Functions is turned on, a message is displayed. Check the message and select to function index.
Select Print Photos on the control panel.
Select Print.
When a message telling you that loading photos is complete is displayed, select OK.
Select the photo you want to print from the thumbnails on the screen.
The selected photo has a check mark and the number of prints (1 initially) on it.
Select  at the top right of the screen to display the Select Photo Menu. If you specify a date by using Browse, only photos of the specified date are displayed.
To change the number of prints, Select Single View, and then use - or +. If the icons are not displayed, tap anywhere on the screen.
Select Single View, and then select  to edit the photo if necessary.
Select Next, select settings on the Basic Settings tab as needed, and then select the number of prints.
Select the Advanced Settings tab, and then change the settings as needed.
Select the Basic Settings tab, and then tap  .
.
Confirm that printing is complete.
If you notice print quality problems such as banding, unexpected colors, or blurry images, select Troubleshooting to see the solutions.