Before Using the Printer
Part Names
Setup
Checking/Changing the Installation DirectionConnecting CablesConnecting Smart DevicesAttaching the Power Switch Cover
Basic Operations
Turning the Power On/OffRemoving/Attaching the Covers (Rear and Bottom)Feeding the Roll PaperInstalling or Replacing the Roll Paper
Cleaning
Troubleshooting
Cannot PrintLED Panel Lights are On/Flashing/OffWhen the Roll Paper JamsThe Roll Paper Cover Does not Open
Appendix
Top > Basic Operations > Removing/Attaching the Covers (Rear and Bottom)
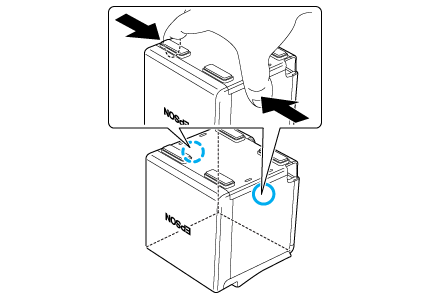
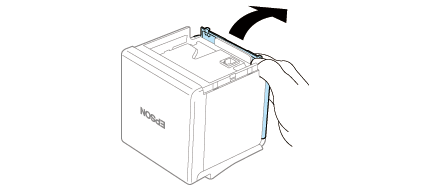
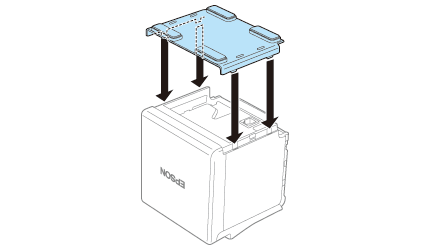
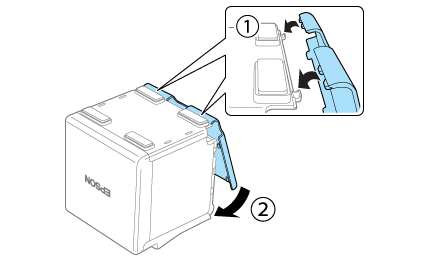
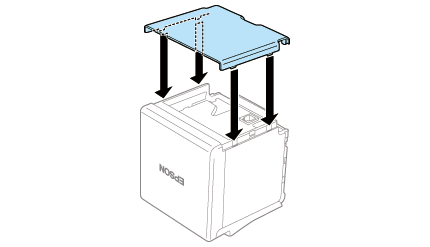
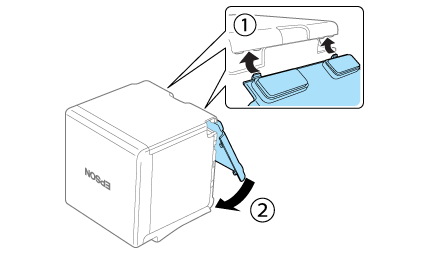
Removing/Attaching the Covers (Rear and Bottom)
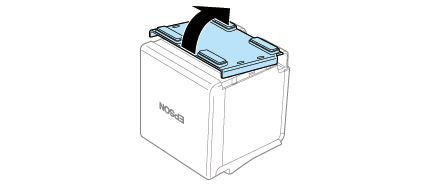
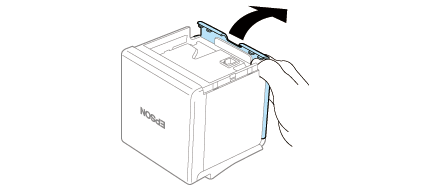
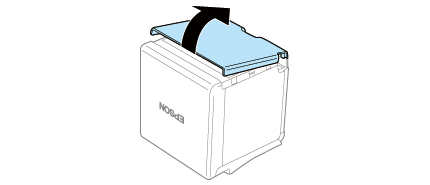
Removing the covers
Follow the steps below to remove the covers.

Before Using the Printer
Part Names
Setup
Checking/Changing the Installation DirectionConnecting CablesConnecting Smart DevicesAttaching the Power Switch Cover
Basic Operations
Turning the Power On/OffRemoving/Attaching the Covers (Rear and Bottom)Feeding the Roll PaperInstalling or Replacing the Roll Paper
Cleaning
Troubleshooting
Cannot PrintLED Panel Lights are On/Flashing/OffWhen the Roll Paper JamsThe Roll Paper Cover Does not Open
Appendix
Top > Basic Operations > Removing/Attaching the Covers (Rear and Bottom)
Removing/Attaching the Covers (Rear and Bottom)
Removing the covers
Follow the steps below to remove the covers.