Scanning and Saving Documents
This section explains how to scan and save to a PDF file.
-
Load the originals in your scanner.
Note:See the User's Guide supplied with the scanner for details on loading originals.
-
Press the start button on the scanner.
The originals start scanning and Epson ScanSmart opens.
Note:-
If you cannot start scanning from the start button on the scanner, see the Troubleshooting link in Related Information at the end of the chapter.
-
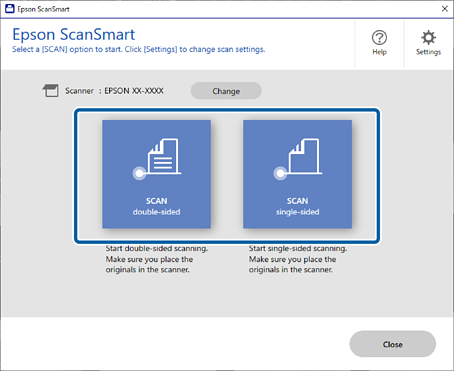
You can also start scanning from your computer.
Open Epson ScanSmart.
Depending on your product, select the Scan area if necessary, and then click SCAN.
-
-
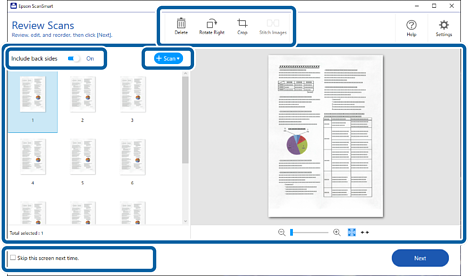
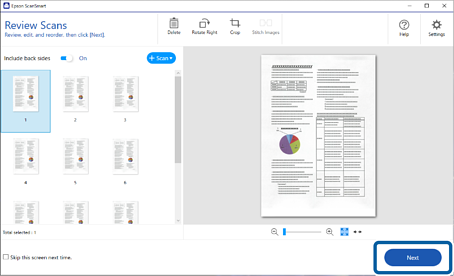
Check the scanned images, and organize them if necessary.
-
You can also scan and add originals from Scan.
-
You can choose to keep or discard the back sides of double-sided scanned images from Include back sides.
-
You can use the buttons at the top of the screen to delete, rotate, crop, or merge the scanned images.
-
If you do not want to organize scanned images each time, select Skip this screen next time.
-
-
Click Next.
-
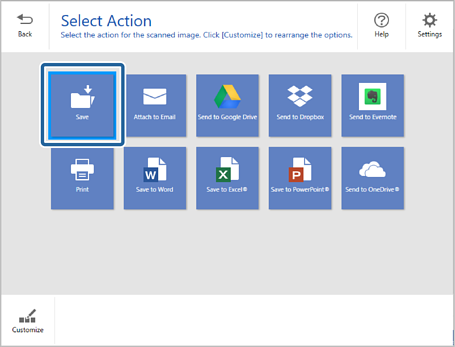
Click Save on the Select Action window.
-
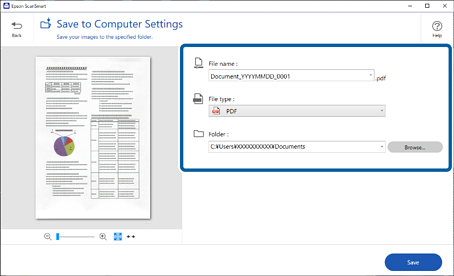
Check or change the settings as necessary.
The file is named automatically by detecting the date.
 Note:
Note:-
You can change the file naming methods. Click
 Back to return to the Select Action window, and then click the
  Settings. Click the File Name Settings tab to change the file naming methods.
-
Check the following if the scanner detects a different date or subject.
-
The originals are placed straight.
-
The originals have clear text.
Note that automatic file naming is only available for specific models.
-
-
When you select Searchable PDF as the File type setting, you can select the language from the the OCR Language list.
-
If the OCR component is not installed, a message is displayed asking if you want to download it. Click Yes to start downloading.
-
-
Click Save.
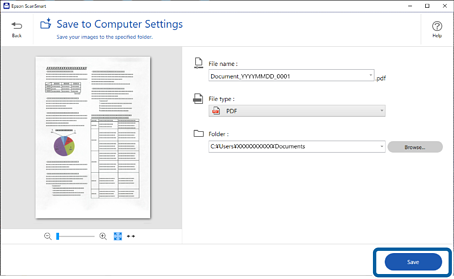
The scanned image is saved to the specified folder.
