Before Using the Product
Part Names
Setup
Basic Operations
Installing the Product in Various Ways
Cleaning
Troubleshooting
Appendix
Top > Installing the Product in Various Ways > Attaching the Display to a VESA Mount
Attaching the Display to a VESA Mount
Follow the procedure below to attach the display to a mount such as a wall bracket or arm stand that complies with VESA standard (75 x 75 mm).
-
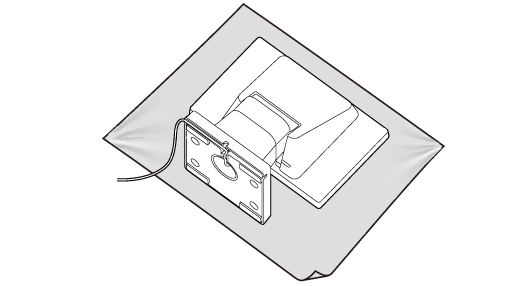
Place the product screen-side down on a soft cloth or the like.
-
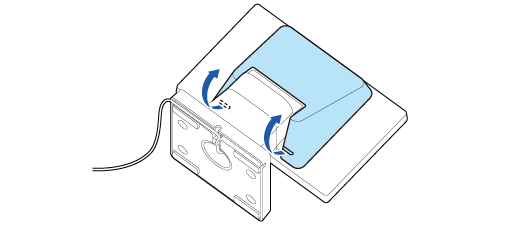
Remove the rear cover.
-
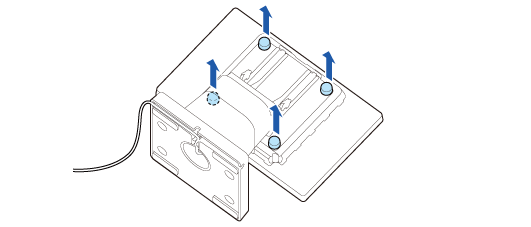
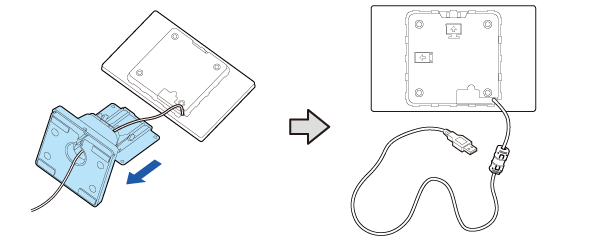
Remove the four screws.
-
Remove the stand and then pull out the USB cable from the stand.
-
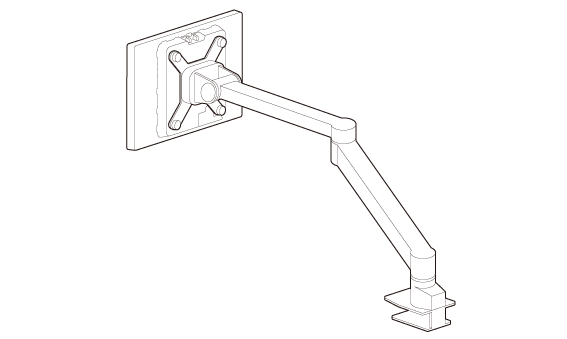
Attach the display to a VESA mount such as a wall bracket or arm stand.
 Note:
Note:Check the marks on the rear of the display to know which side is top or bottom.
Follow the instruction manual for the VESA mount to attach the mount.
Before Using the Product
Part Names
Setup
Basic Operations
Installing the Product in Various Ways
Cleaning
Troubleshooting
Appendix
Top > Installing the Product in Various Ways > Attaching the Display to a VESA Mount
Attaching the Display to a VESA Mount
Follow the procedure below to attach the display to a mount such as a wall bracket or arm stand that complies with VESA standard (75 x 75 mm).
-
Place the product screen-side down on a soft cloth or the like.
-
Remove the rear cover.
-
Remove the four screws.
-
Remove the stand and then pull out the USB cable from the stand.
-
Attach the display to a VESA mount such as a wall bracket or arm stand.
Note:Check the marks on the rear of the display to know which side is top or bottom.
Follow the instruction manual for the VESA mount to attach the mount.