-
-
-
-
Printing from the Print Photos Menu on the Control Panel
-
-
-
Network Service and Software Information
-
Application for Scanning Documents and Images (Epson Scan 2)
-
Application for Configuring Scanning Operations from the Control Panel (Epson Event Manager)
-
Application for Quick and Fun Printing from a Computer (Epson Photo+)
-
Application for Easily Operating the Printer from a Smart device (Epson Smart Panel)
-
Application for Scanning and Transferring Images (Easy Photo Scan)
-
Application for Updating Software and Firmware (Epson Software Updater)
-
Application for Setting up the Device on a Network (EpsonNet Config)
-
-
-
Making Wi-Fi Settings by PIN Code Setup (WPS)
You can automatically connect to a wireless router by using a PIN code. You can use this method to set up if a wireless router is capable of WPS (Wi-Fi Protected Setup). Use a computer to enter a PIN code into the wireless router.
-
Select
 on the home screen.
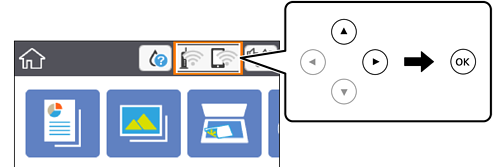
To select an item, move the focus to the item using the


 buttons, and then press the OK button.
-
Select Wi-Fi (Recommended).
-
Press the OK button.
If the network connection is already set up, the connection details are displayed. Select Change Settings to change the settings.
-
Select Others > PIN Code Setup (WPS).
-
Use your computer to enter the PIN code (an eight digit number) displayed on the printer's control panel into the wireless router within two minutes.
Note:See the documentation provided with your wireless router for details on entering a PIN code.
-
Press the OK button on the printer.
-
Close the screen.
The screen automatically closes after a specific length of time.
Note:If connection fails, restart the wireless router, move it closer to the printer, and try again. If it still does not work, print a connection report and check the solution.
-
Press the
 button.
