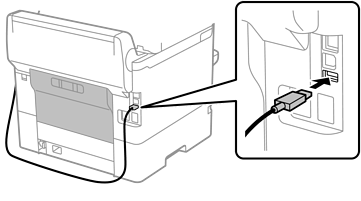
This section explains how to install the optional authentication device stand P2 and authentication device. Attach the authentication device stand P2 using the following accessories. No other parts are used with this model.
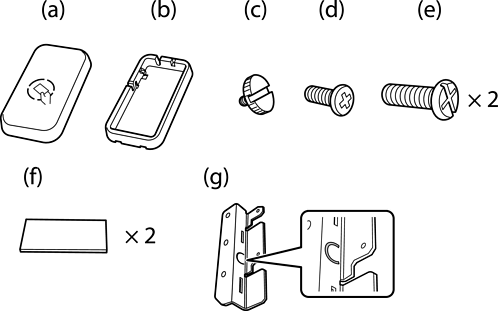
The authentication device can be used when using an authentication system.
Connect an authentication device with the same model number as the authentication device that was used to confirm the authentication card.
Peel off the seal covering the screw holes on the side of the printer.
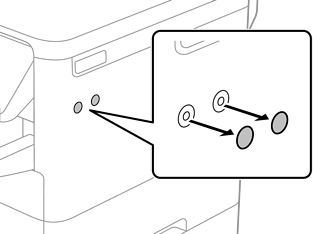
Using a Phillips screwdriver, secure the metal plate (g) with the two screws (e).
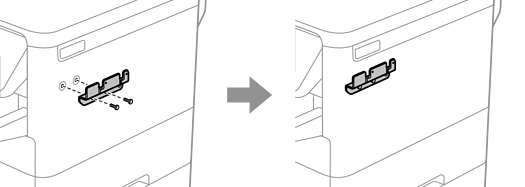
Place the bottom part (b) of the authentication device stand on to the metal plate (g).
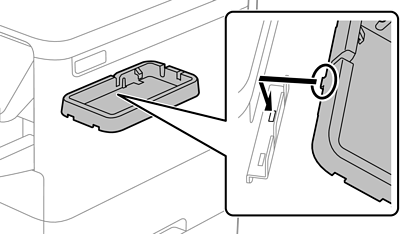
Secure the bottom part (b) of the authentication device stand with the screw (c). Turn the screw (c) by hand.
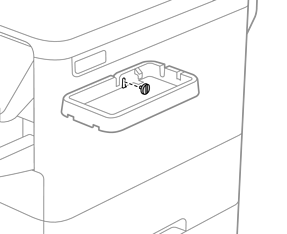
Place the upper part (a) on to the authentication device stand as shown in the illustration.
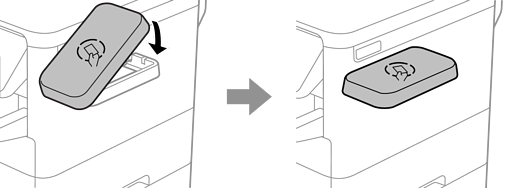
Use a Phillips screwdriver to secure the authentication device stand with the screw (d).
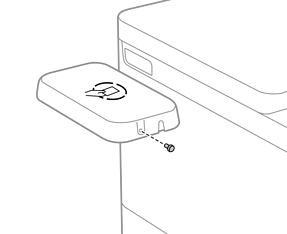
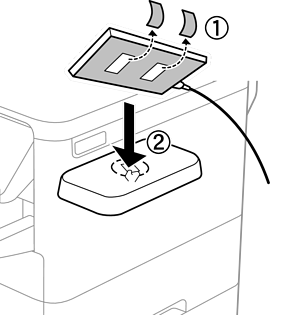
Fix the authentication device to the top of the stand with the two pieces of double-sided tape (f) supplied.
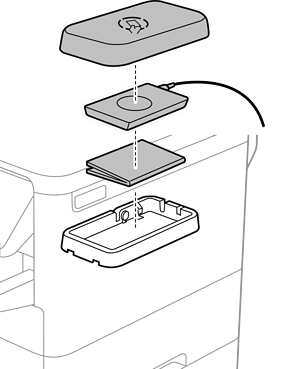
If you want to leave the authentication device in the stand, place something thick (such as folded paper) under the authentication device to raise the device. However, do not use a metal object or anything that generates electromagnetic waves.
If the authentication device is not raised, authentication cards may not be read due to the usage environment or the authentication device's specifications, such as the communication distance specifications.
Peel off the seal from the printer's service port.
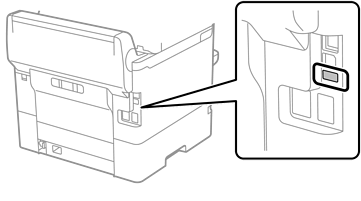
Connect the cable for the authentication device to the service port, and then arrange the cable to avoid the printer's rear unit.
