
Before Using the Printer
Part Names
Setup
Basic Operations
Cleaning
Troubleshooting
Appendix
Top > Setup > Placing the Printer
Placing the Printer
The printer can be placed vertically or horizontally.
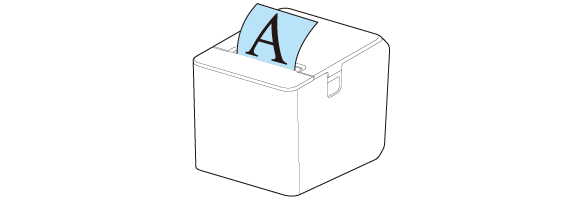
For printing on some types of label paper, vertical installation is recommended.
-
Vertical installation

-
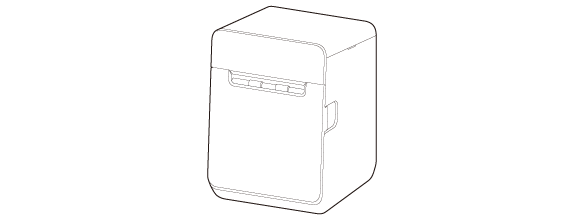
Horizontal installation
 CAUTION:
-
Place the printer on a flat surface.
-
Do not place the printer in locations subject to high dust levels.
-
Be careful not to place cords or foreign substances under the printer.
-
Take measures to prevent the printer from moving due to vibrations when using the cash drawer.
-
Do not give a high impact on the printer during operation. Doing so may cause the print failure.
 Note:
Note:You can hang the printer on a wall by using the optional Wall Hanging Bracket Set (OT-WH30). Refer to the manual of the Wall Hanging Bracket Set for details.
Placing the Printer Vertically
Attach the included four rubber feet and two pieces of fixing tape to the bottom of the printer.
-
Lay the printer on its side.
-
Remove the release paper from the rubber feet.
-
Attach the rubber feet to the four positions on the bottom of the printer.
-
Place the printer.


Securing the Printer to the Installation Surface
For vertical installation, use of the fixing tape is recommended to secure the printer to the installation surface.
-
Lay the printer on its side.
-
Remove the release paper from one side of the fixing tape.
-
Attach the fixing tape to the two positions.
-
Remove the other release paper from the fixing tape.
-
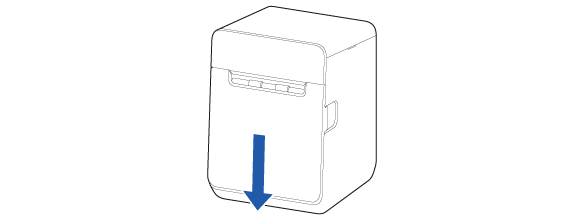
Place the printer on the installation surface, and then hold the printer down to secure it.


Placing the Printer Horizontally
Attach the included four rubber feet to the rear of the printer.
-
Remove the release paper from the rubber feet.
-
Attach the rubber feet to the four positions on the bottom of the printer.
-
Place the printer.


Before Using the Printer
Part Names
Setup
Basic Operations
Cleaning
Troubleshooting
Appendix
Top > Setup > Placing the Printer
Placing the Printer
The printer can be placed vertically or horizontally.
For printing on some types of label paper, vertical installation is recommended.
-
Vertical installation
-
Horizontal installation
CAUTION:-
Place the printer on a flat surface.
-
Do not place the printer in locations subject to high dust levels.
-
Be careful not to place cords or foreign substances under the printer.
-
Take measures to prevent the printer from moving due to vibrations when using the cash drawer.
-
Do not give a high impact on the printer during operation. Doing so may cause the print failure.
Note:You can hang the printer on a wall by using the optional Wall Hanging Bracket Set (OT-WH30). Refer to the manual of the Wall Hanging Bracket Set for details.
Placing the Printer Vertically
Attach the included four rubber feet and two pieces of fixing tape to the bottom of the printer.
-
Lay the printer on its side.
-
Remove the release paper from the rubber feet.
-
Attach the rubber feet to the four positions on the bottom of the printer.
-
Place the printer.
Securing the Printer to the Installation Surface
For vertical installation, use of the fixing tape is recommended to secure the printer to the installation surface.
-
Lay the printer on its side.
-
Remove the release paper from one side of the fixing tape.
-
Attach the fixing tape to the two positions.
-
Remove the other release paper from the fixing tape.
-
Place the printer on the installation surface, and then hold the printer down to secure it.
Placing the Printer Horizontally
Attach the included four rubber feet to the rear of the printer.
-
Remove the release paper from the rubber feet.
-
Attach the rubber feet to the four positions on the bottom of the printer.
-
Place the printer.