You can edit the scanned photos using features such as rotation, enhancement, red eye correction, and more.
Note:
You can automatically apply the Auto Enhance, Remove Red Eye, and Restore Faded Colors when scanning. Click Settings > Enhancements tab.
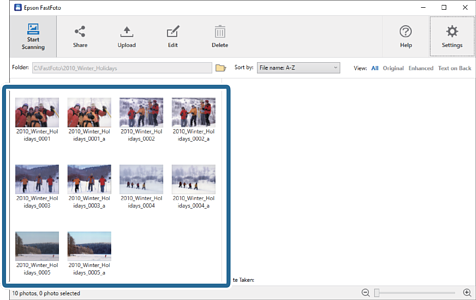
1Select the images you want to edit.
Note:
You can select and edit multiple images except Crop (Windows only) feature.
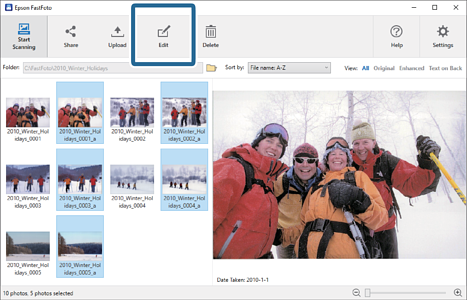
2Click Edit.
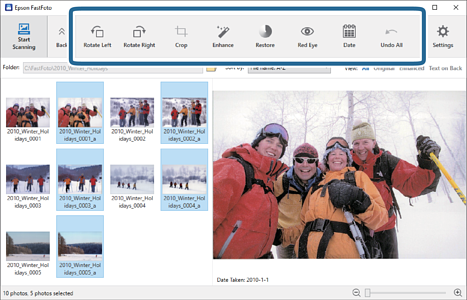
3Select the edit item on the top of the screen.
Rotate Left/Rotate Right: Rotate the selected images.
Crop (Windows only): Crop the image. An outline appears around the selected image in the preview pane. Click and drag the outline
to highlight the cropped area, and then click Apply to crop the image. You can select one image each time when applying this item.
Enhance: Applies photo enhancement (brightness, contrast, and saturation) to the selected images.
Restore: Applies color restoration to the selected images.
Red Eye: Reduces the red eye effect in the selected images.
Date (Windows only): Allows you to add, edit, or remove a date on the selected images (shown as the Date Taken information).
Undo All: Removes all edits from the selected images made during the current session, since you started Epson FastFoto.
Once you exit Epson FastFoto, your edits are permanent.