Introduction
Basic Operations
Creating a Variety of Labels
Printing
Changing Preference Settings
Appendix
Top > Basic Operations > Changing Object Settings
Changing Object Settings
-
Select an object you want to change the settings.
-
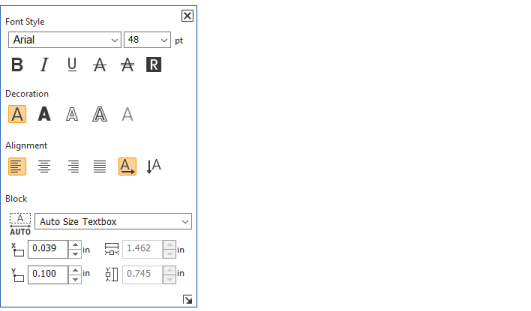
Click on the window to display the advanced settings window.
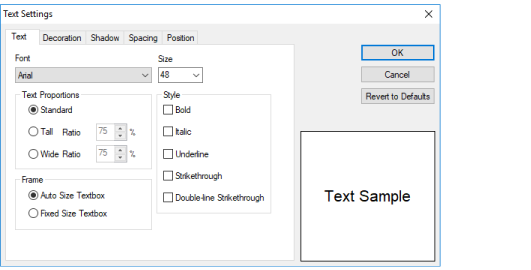
A settings window for the selected object is displayed.
Text settings window
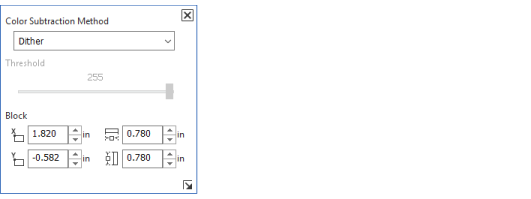
Symbol settings window
Text advanced settings window
Symbol advanced settings window

 Note: Note:How to stop displaying the settings window Select Settings - Preferences, and then change the display setting in the General tab. After you stop displaying the settings window, you can open the advanced settings window in the following way.
|
Introduction
Basic Operations
Creating a Variety of Labels
Printing
Changing Preference Settings
Appendix
Top > Basic Operations > Changing Object Settings
Changing Object Settings
-
Select an object you want to change the settings.
-
Click on the window to display the advanced settings window.
A settings window for the selected object is displayed.
Text settings window
Symbol settings window
Text advanced settings window
Symbol advanced settings window
|
Note: How to stop displaying the settings window Select Settings - Preferences, and then change the display setting in the General tab. After you stop displaying the settings window, you can open the advanced settings window in the following way.
|