Loading Paper in the Rear Paper Feed
-
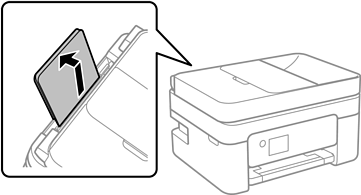
Pull out the paper support.
-
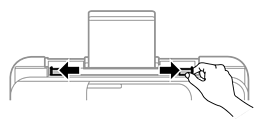
Slide the edge guides.
-
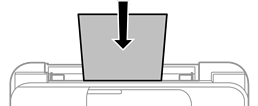
Load paper at the center of the paper support with the printable side facing up.
 Important:
-
Do not load more than the maximum number of sheets specified for the paper. For plain paper, do not load above the line just under the
 symbol inside the edge guide.
-
Load paper short edge first. However, when you have set the long edge as the width of the user defined size, load paper long edge first.
-
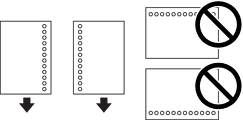
Pre-punched paper
Note:-
Load a single sheet of defined size plain paper with binding holes at the left or right.
-
Adjust the print position of your file to avoid printing over the holes.
-
Automatic 2-sided printing is not available for pre-punched paper.
-
-
Slide the edge guides to the edges of the paper.
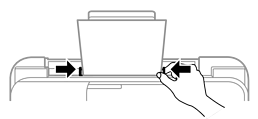
-
On the control panel, set the size and type of the paper you loaded in the rear paper feed.
To select an item, use the


 buttons, and then press the
OK button.
Note:
buttons, and then press the
OK button.
Note:-
You can also display the paper size and paper type settings screen by selecting Settings > Printer Setup > Paper Source Settings > Paper Setting.
-
For letterhead paper, select Letterhead as the paper type.
-
For letterhead paper, if you print on paper that is smaller than the setting in the printer driver, the printer may print beyond the edges of the paper which can lead to ink smears on your printouts and excess ink building up inside the printer. Make sure you select the correct paper size setting.
-
2-sided printing and borderless printing are not available for letterhead paper. Also, the print speed may be slower.
-
-
Slide out the output tray.
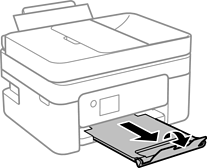 Note:
Note:Return the remaining paper to its package. If you leave it in the printer, the paper may curl or the print quality may decline.
